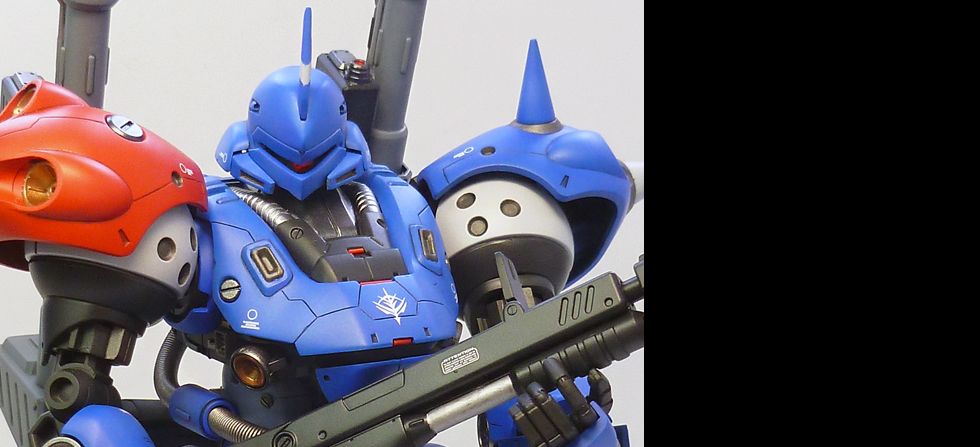
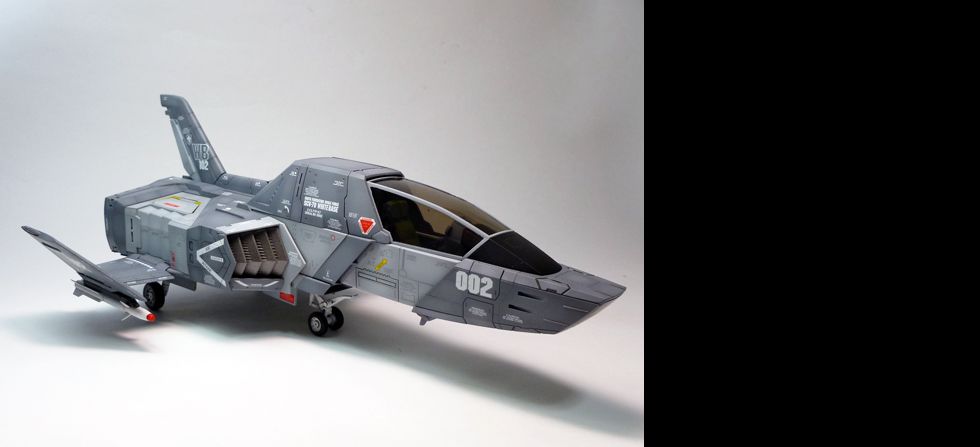
MG MS-18E Kampfer

Excepteur sint occaecat cupid- atat non proident, sunt in culpa qui officia deserunt mollit anim id est laborum.

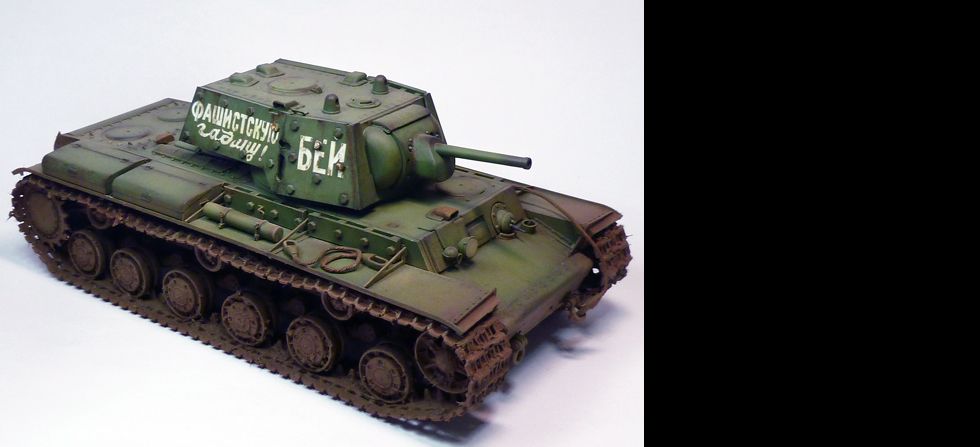
1/35 KV-1 Ehkranami

Excepteur sint occaecat cupid- atat non proident, sunt in culpa qui officia deserunt mollit anim id est laborum.

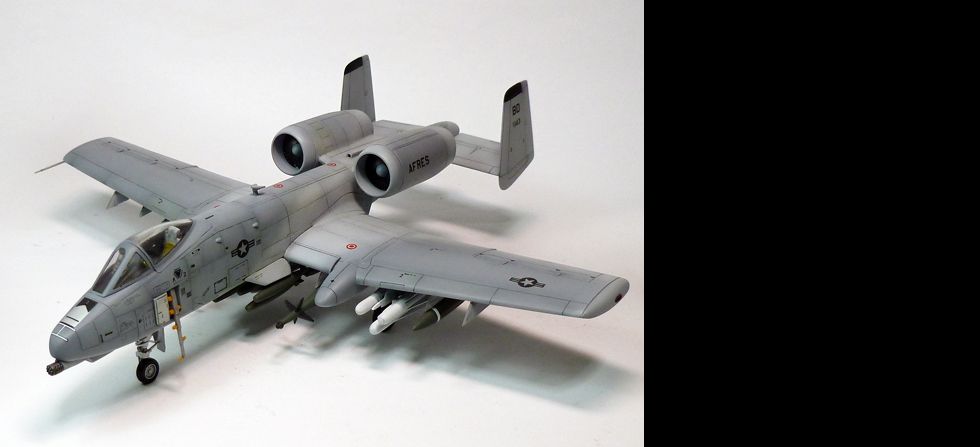
1/72 A-10 Thunderbolt

Excepteur sint occaecat cupid- atat non proident, sunt in culpa qui officia deserunt mollit anim id est laborum.

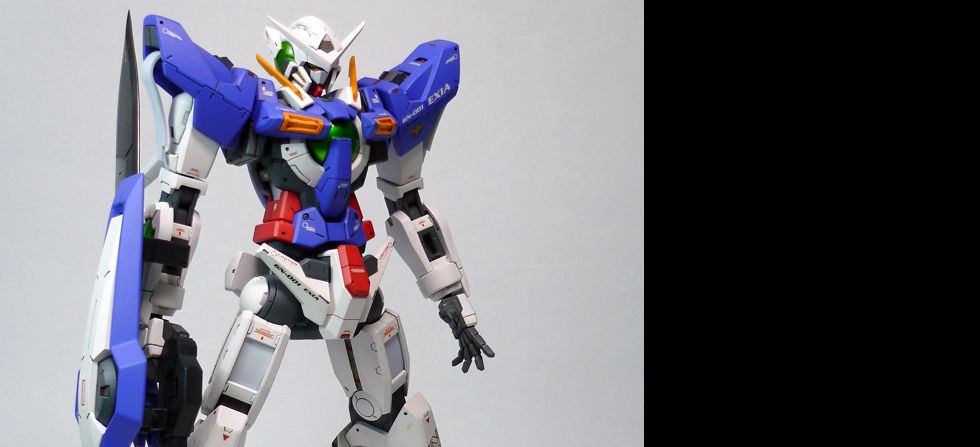
1/100 GN-001 Exia

Excepteur sint occaecat cupid- atat non proident, sunt in culpa qui officia deserunt mollit anim id est laborum.

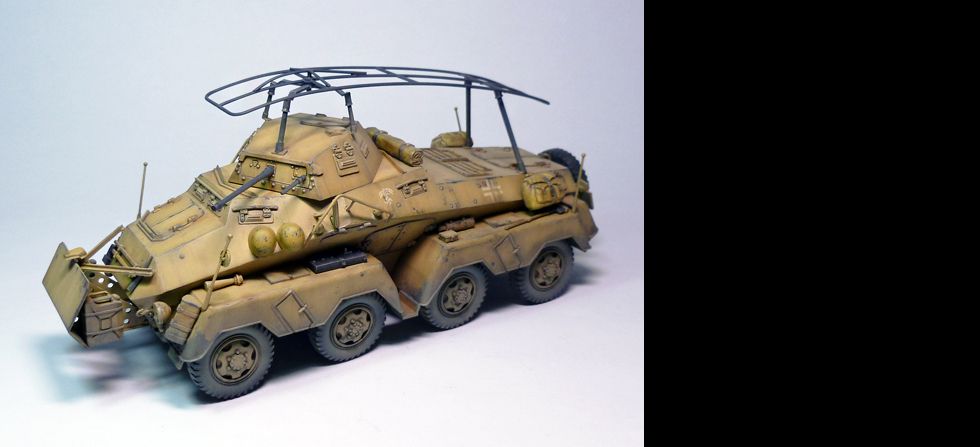
1/35 Panzerspähwagen 8Rad Sd.Kfz.232

Excepteur sint occaecat cupid- atat non proident, sunt in culpa qui officia deserunt mollit anim id est laborum.

UCHG Core Fighter

Excepteur sint occaecat cupid- atat non proident, sunt in culpa qui officia deserunt mollit anim id est laborum.
Showing posts with label 1/35. Show all posts

TAMIYA 1/35 GERMAN HANOMAG SDKFZ 251/1


After almost a year of hiatus due to my new hobby (Lego), I was able to finish kit. Kindda feels good to build another scale model for myself. About the kit; its an out of the box build. Primed with Mr. Surfacer 1000, and painted with Gaianotes paints. For the weathering, I used artist oils and pigments from Vallejo. 

Im having a problem with my old website so I'll just give the album link here -- HANOMAG

Tamiya 1/35 Hanomag Sdkfz 251/1 WIP

Just a personal project, planning to weather it heavily. Got carried away and took only a few photos during the process. So here it goes.

Very basic assembly, no fitting issues as far as I can remember.. 

 Wrong vehicle dude!

After priming with Mr. Surfacer 1000, I applied black on areas I want to have shadows then resprayed with a mix of dark red. I want the yellow to be a lil bit darker on this one.

 This will be my base coat. Gaianotes Dark Yellow.

Forgot that Gaianotes paints has a strong covering characteristic, all the blacks and reds were covered completely.

So I just opted to colour modulation/

Here is the current status of the build, applied rust and scratches by sponge and dry brushing with lacquer paints. Next thing to do is a pin wash and maybe some filtering to blend it all in.


Bandai UCHG 1/35 FF-X7 Core Fighter


My latest build & commission work. Probably my last build of the year too. Its a 1/35 UCHG Core Fighter from Bandai, also a Ver. GFT which I think has a nicer set of waterslide decals compared to the usual hardgraph version. Its an OOTB build with a G3 (gray) color scheme as requested by the client. Also decided to give some subtle shading and highlights just to give some depth to the monotonous scheme. Its a very nice model kit to build and paint, assembly is perfect as expected & not much sealing is needed. My only advice/caution to other modelers out there who will also build this is to be a bit careful on the enamel wash, some parts gets brittle easily after the exposure to enamel thinner/paint. Aside from that its a must have kit!

More photos at -- Mechaion Designs


Happy Holidays!


Bandai UCHG 1/35 FF-X7 Core Fighter: WIP

Started working on my next commission build. This time its a UC Hardgraph 1/35 Core Fighter from Bandai. So far so good, as expected perfect fitting and the amount of details is quite impressive specially in the cockpit area. Assembly is also great, very minimal sealing and masking required. 

Size comparison with an old-school 1/144 Core Fighter model kit.   


Bandai 1/35 UCHG M61A5 Main Battle Tank “Semovente” Phantom Element

Here's the 3rd and final kit of the commission builds I took. Also my first Hard Graph model kit from Bandai. As a fan of armour kits I find this one very impressive specially the perfect fitting and good amount of details. My only gripe is the quality of plastic is far compared with other brands that produce military kits such as Tamiya, Trumpeter and Dragon, which more resistant to enamel thinner or turpentine. 

About the build... primed with Mr Surfacer 1000 and painted with both Gaianotes and Mr Color lacquer paints. Pinwash applied using Tamiya enamels. Filters and Colour variation was done using Artist Oils. Dusting was also achieved using powdered pigments. Honestly I find the whole build a bit clean for my taste. If it was up to me I like to add more weathering (larger chippings, rust and mud) but the client only wants a subtle amount of it. 

With all 3 commission builds done, I can finally proceed and finish my own kit which is already 2 years old in the making due to on & off progress.


More photos at -- Mechaion Designs


Bandai UCHG M61A5 Main Battle Tank “Semovente”: WIP 5

Back for some more and probably last update for this build...


Chippings applied (handbrushed with Dark Gray (Gunze) lacquer paint.


Almost home! Here's what I did;

-Pin wash using Tamiya Dark Brown Enamel
-Used artist oils for filters
-I also used oil paints for colour variation/paint fading.
-Gloss coat applied
-Decals

Will still have to add some pigments for weathering the lower hull and tracks and a final flat coat.


Bandai UCHG M61A5 Main Battle Tank “Semovente”: WIP 4


Pre-shading started by painting the edges and panels black then toning it down with white.


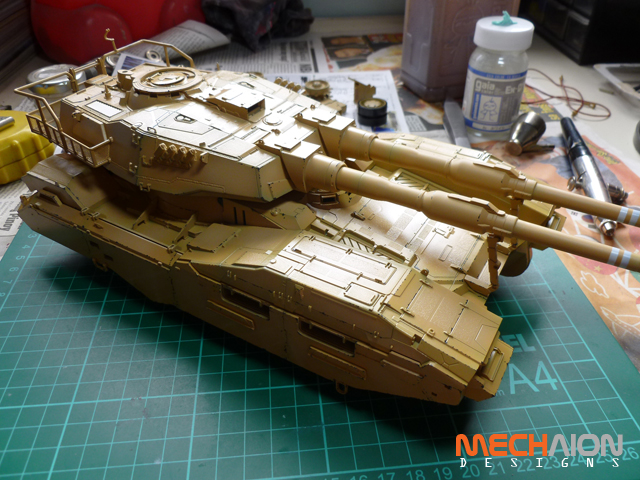
Base coat applied, I used Mr Color Sandy Brown. 


Then highlighted with a mixture of Sandy Brown + Yellow + White.


Here's another view, highlights are much more visible.


Bandai UCHG M61A5 Main Battle Tank “Semovente”: WIP 3


Back to work! The kit was primed using Mr. Surfacer 1000. Preparation for the shading also done, I painted the panels and edges with black lacquer paint. Theory here is when I apply the base coat which is somewhat yellowish the layer hitting the black surface will give the kit a nice shade or shadow.


Since I dont want the contrast of the base paint to be that strong I applied White on the surface just to tone down the black, turning it into gray. This will also make the base coat pop even better and coverage a bit easier.


Same goes with the wheels...

Progress is quite slow due to the cold weather which is giving me a hard time due to condensation and making my AB to spit water.


Bandai UCHG M61A5 Main Battle Tank “Semovente”: WIP 2


Here's the size of the Semovente compared to a KV-1. Its just that massive and Im liking it.    


Bandai even provided some photo etched parts for additional details which I think are great.


PE parts for the "cage". 


I think these PE chains for the smoke grenades are the hardest part of the build for me. They are so small and quite fragile to work with especially if you have big hands. 


Dry fitting stage is complete and ready for priming.


Bandai UCHG M61A5 Main Battle Tank “Semovente”: WIP


Time to face this beast! This is the 3rd kit of the 3 commissions that was given to me, first was the Exass then the Gunbarrel. Will be out of the box as usual. For the color and finish the client wanted an artic scheme with minimal weathering, but I personally dont like the idea, I want to retail the desert scheme of the tank and put on some heavy weathering. As an armor kit fan, I know tanks like this screams for weathering. So will still persuade him with my idea and hopefully convince him. :)


Still on a dry-fitting stage. Very impressed with Bandai, the construction is just flawless. Unlike other armors like Tamiya and Trumpeter, this one is mostly snapfitted with minimal gluing. Its also well detailed and the size is just massive. Will try to compare it to another armor once I'm done snapping all the parts together. 

That's all for now. :)


Trumpeter 1/35 M1134 Stryker ATGM


Here's my 1/35th scale Stryker ATGM from Trumpeter. Its an OOTB build. Painted with Gaianotes lacquer paints and weathered using oils and acrylics. I really wanted to apply more weathering to it but since this is my first modern AFV, I decided to play it safe and just apply a subtle filter and dusting on the lower half of the vehicle. Pardon me if its not that historically correct specially with regards to the stowage/equipments, cant find a decent reference photo of the "loaded" vehicle. As usual more photos at the main site.


Gallery at Mechaion Designs


Trumpeter 1/35 M1134 Stryker ATGM WIP: Weathering Pt. 2

Here's the final result after all the weathering applied. Since its a modern AFV, I tried to restrict myself from weathering it too much like my previous WWII armor kits. I didnt apply chippings, too much paint fading. All I did after the filter is a bit of dusting; but instead of using pigments like I used to, I resorted using acrylics (airbrushed). A thing I learned from western armor modelers. Just a final flat coat and its all done.


Trumpeter 1/35 M1134 Stryker ATGM WIP: Paint & Weathering

Here's a step by step process on how I usually paint armor kts. First is I apply a primer then paint some areas black usually the panels and edges (photo above).

Next is the application of base coat (which is dark green for this project). Then post-shaded to show shadows on some areas.

After that, I mix my base color usually with white (and yellow) and sprayed on the center of some panels as highlights. This also helps to blend the colors and add an extra depth to the kit.

A coat of gloss clear paint is applied followed by a dark brown (enamel) pin wash. Decals are also applied in this stage.

Photobucket
Optional: Application of filter, this time I only use what most armor modelers call "Dot Filtering". A filter is technically a complement, it also helps to break the monotony of single colored subjects.

Photobucket
Here's the results. Notice the discoloration of some panels.


Trumpeter 1/35 M1134 Stryker ATGM WIP: Dryfit

Assembly done and ready for painting. The building went smooth, except for a PE part which I mishandled leaving me no choice but to use the plastic counterpart. Another thing I really like about this kit is that it comes with paper cutouts of ration boxes, really had fun making them.


Some close up shots of the ration boxes and equipments.


Trumpeter 1/35 M1134 Stryker ATGM WIP: Assembly


Been waiting to get out of mecha and sci-fi builds. Good thing the 9th IPMS Philippines Nationals is coming up, letting me build another armor kit. This is my first time doing a modern AFV, Im used to doing WWII armors with heavy weathering. So this will be quite interesting; at least for me.


Brought this to work and started the assembly. No fitting issues so far and great details (which include PE parts) as expected from Trumpeter kits. Hopefully I can manage to finish this build in 2 weeks.


Raiden Armor Done


Here’s my contribution to the “Weathering VS Metallic” group build of Zero G. It’s a 1/35th scale Raiden Armor from Bandai. Pretty much an old school kit, lots of seam lines but the details were quite good. I chose this kit mainly because of its scale; I really want and need to practice my weathering since I’m becoming an avid fan or armor kits. About the build, it was purely OOTB except for the additional rifle/weapon. Painted with a mixture of dark yellow and tan (Gunze Lacquer Paints). Same mix with my previous Panzerspahwagen build. For the highlights I just added white to the base color. For the weathering; at first I plan to do it simple and conservative, but I went overboard and decided to make it heavy for a change (not sure if I overdo it). Pin wash, Filter, rust were achieved using oil paints (burnt umber, burnt sienna, black, white and yellow ochre). I also used a Balkenkreuz emblem and some German decals since I’m going with the Afrika Korps scheme.

More photos at Mechaion Designs


1/35 Raiden Armor WIP: Weathering Part 2

Photobucket
I think this will be my last update for this build. I applied a second filter (white, still using oil paints thinned with turpentine). This is to tone everything down a bit and simulate watermarks on some areas. After curing this layer I will spray it with the final flat coat, then apply some pigments on the feet and lower legs for mud and dust effects.


1/35 Raiden Armor WIP: Weathering Part 1

Photobucket
Started weathering this kit. My style or preference usually begins with a pinwash using Tamiya Enamel (Dark Brown), this is to raise the details of the kit. This was followed by drybrushing to represent scratches which I stressed on the edges and moving parts I also din some paint chippings using a small piece of sponge. Gunze Lacquer (Dark Gray) was used for both drybrushing and chippings. After drying I sprayed a clear coat of semi gloss, just to protect the paint job and plastic for the next step.

Photobucket
After the semi gloss coat cured, I applied a filter which is a diluted mixture of Burnt Sienna. This is to simulate the discoloration of paintjob. It can also give more depth specially on monotonous subjects. I also placed "rust" on the edges and chipped areas by handbrushing Burnt Sienna + Burnt Umber + Black then blending them slowly until I get the result I wanted. I used oil paints by the way.

Here are the rest of the parts after filtering and rust application;

Photobucket Photobucket Photobucket