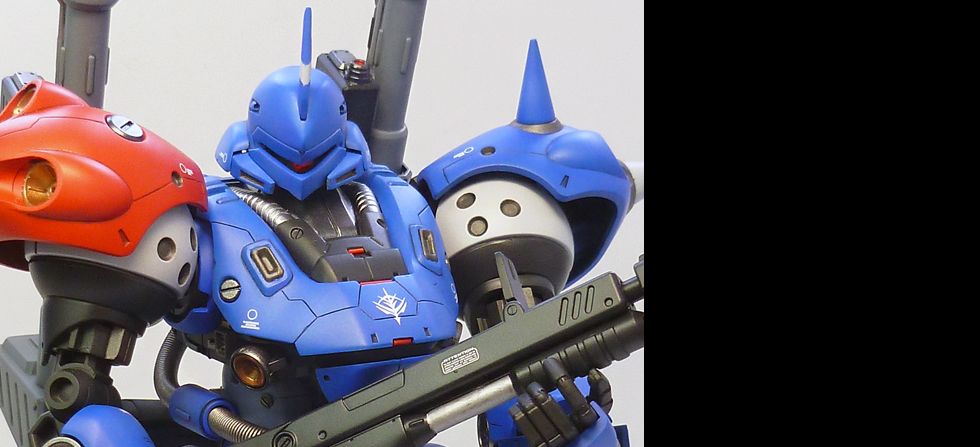
MG MS-18E Kampfer

Excepteur sint occaecat cupid- atat non proident, sunt in culpa qui officia deserunt mollit anim id est laborum.

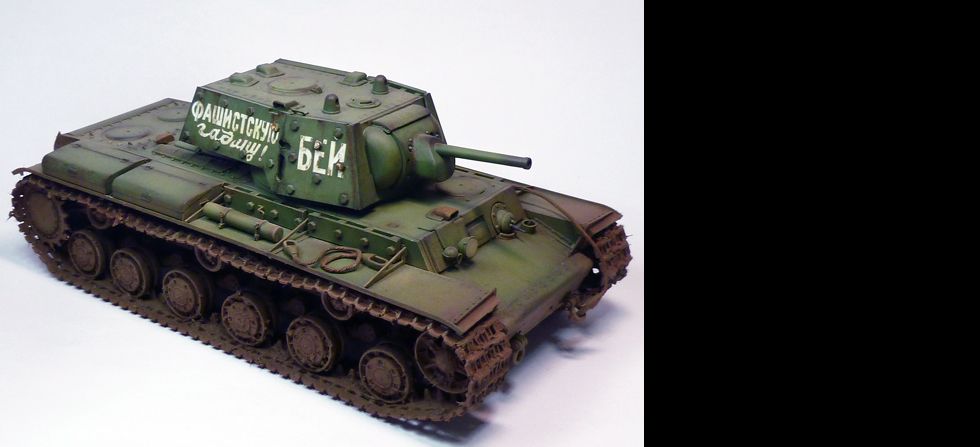
1/35 KV-1 Ehkranami

Excepteur sint occaecat cupid- atat non proident, sunt in culpa qui officia deserunt mollit anim id est laborum.

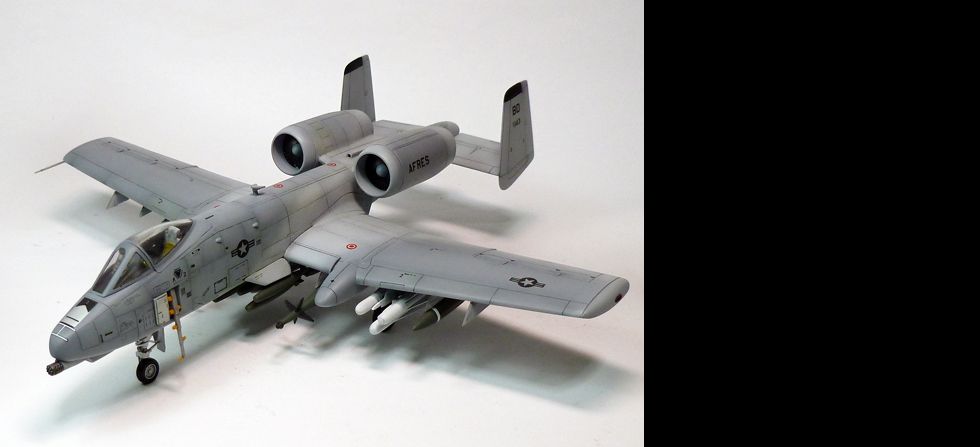
1/72 A-10 Thunderbolt

Excepteur sint occaecat cupid- atat non proident, sunt in culpa qui officia deserunt mollit anim id est laborum.

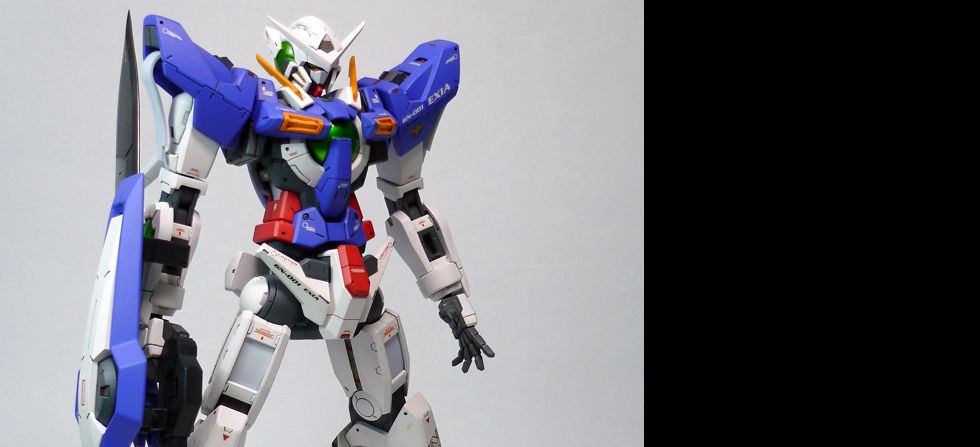
1/100 GN-001 Exia

Excepteur sint occaecat cupid- atat non proident, sunt in culpa qui officia deserunt mollit anim id est laborum.

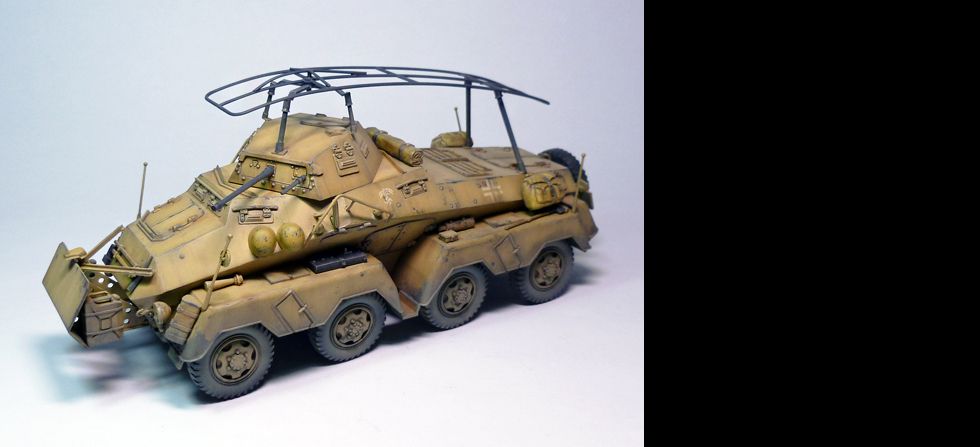
1/35 Panzerspähwagen 8Rad Sd.Kfz.232

Excepteur sint occaecat cupid- atat non proident, sunt in culpa qui officia deserunt mollit anim id est laborum.

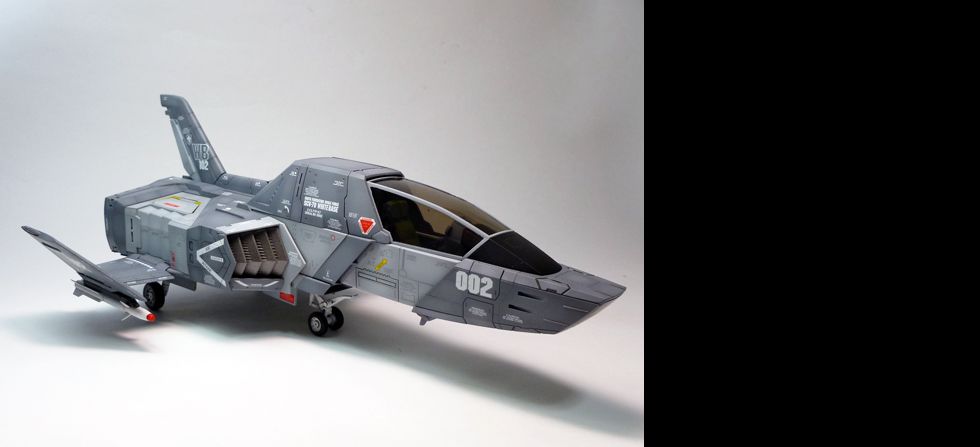
UCHG Core Fighter

Excepteur sint occaecat cupid- atat non proident, sunt in culpa qui officia deserunt mollit anim id est laborum.
Showing posts with label gunpla. Show all posts

Bandai 1/100 HG Gundam Wing Zero Custom

Old kit just gathering dust in my workshop. Decided to build it as my brother's birthday gift. Just out of the box build and turned into a semi-fixed posed.


Bandai MG Wing Gundam Zero TV Ver.

Latest commission project and first build of this year. Its a Master Grade Wing Gundam Ver. Ka by Bandai + resin conversion parts (Wing Zero TV Ver.). Painted with Gaianotes lacquer paints and Tamiya & Testors enamels. Bandai, Samuel decals & G-options Aurora film were also used for additional  details. This is probably one of the hardest scale models I've build due to the fact that the resin parts are recasted,  therefore most of the parts does not fit properly requiring a lot of trimming and modifications. The surface quality is also quite poor that it took me several coats of primer and sanding/re-sanding. The small details are also obscure that you have to replace it with after-market parts (Kotobukiya MSG's). There is also an issue of paint lifting after masking even though I already used Mr. Resin Primer. But overall it was a decent and challenging convo kit to work on. Im also digging the sexy proportion of the kit. A friendly advise to everyone who might like resin kits or conversion parts. Get the original cast, it might be more expensive but it has a higher quality and will save you time and effort when you build it. :D

More photos at -- Mechaion Designs


BANDAI MG WING VER. KA + RESIN WING 0 CONVERSION KIT WIP 13

Aurora film was used for the camera lens effect.

Will just have to finish applying matte varnish to the rest of the parts.


BANDAI MG WING VER. KA + RESIN WING 0 CONVERSION KIT WIP 12

Parts coated with gloss varnish.

Finished enamel painting (last resort to avoid more paint lifting issues).


BANDAI MG WING VER. KA + RESIN WING 0 CONVERSION KIT WIP 11

Still on the masking stage.

As expected a few more paint lifting problems.

Repainted the parts with paint lifting issues and last stretch of masking.

Metallics and clear colors (green) applied. 

BANDAI MG WING VER. KA + RESIN WING 0 CONVERSION KIT WIP 10

Painted the red parts with Gaianotes Bright Red.

Fortunately this time no paint lifting occurred. 

BANDAI MG WING VER. KA + RESIN WING 0 CONVERSION KIT WIP 9

Started applying yellow on the parts.

Also applied dark gray for the internals and gloss black as base coat for the metallics that will be sprayed later on.

Hello Murphy! Im not sure if its the quality of the resin but paint (even Gaianotes Lacquers) are having a hard time staying on the surface, even I left it for 3 days to dry and cure.

Blue parts also painted. 

BANDAI MG WING VER. KA + RESIN WING 0 CONVERSION KIT WIP 8

Primed both plastic and resin parts with Mr. Surfacer 1200.

Parts coated with base white (Gaianotes Lacquer Paints).

BANDAI MG WING VER. KA + RESIN WING 0 CONVERSION KIT WIP 7

After the first round of putty + sanding + primer there are still some surface imperfections of the resin parts. Here are some of the photos;


 Parts that needs a second round of cleaning.

BANDAI MG WING VER. KA + RESIN WING 0 CONVERSION KIT WIP 6


Primed all the resin parts making all the casting flaws more visible. Unfortunately 80-85% of the parts have problems like this.

Applied putty, and sanded all resin parts. Will prime again to check again for errors.

BANDAI MG WING VER. KA + RESIN WING 0 CONVERSION KIT WIP 5

Reinforcing some parts that are prone to breakeage with 0.5mm styrene sheets.

 
Decided to just replace the warp verniers with Kotobukiya after market parts.


BANDAI MG WING VER. KA + RESIN WING 0 CONVERSION KIT WIP 4

Weapon/s assembly. Some parts have fitting issues and quite deformed maybe due to packaging.

This is the main attachment for the wings. Quite sturdy but some areas are quite thin and needs to be strengthen, maybe I'll glue some PS sheets later.

Badly deformed, will either clean or just replace it with Kotobukiya after market parts.

The wings.

Wave copper wire/rods for pinning.

 
Pinning some of the parts of the back pack and wings.

After pinning, the whole wing assembly can hold itself a bit better but still needs to be fixed after painting.

Wing assembly when opened.


BANDAI MG WING VER. KA + RESIN WING 0 CONVERSION KIT WIP 3

Leg Assembly: encountered some fitting problems on the knee armor, the lower part is badly recasted and needs some major carving/shaving in order to fit properly.

 Arms Assembly: again there were some fitting problems, but a bit easier to solve than the knee armor parts.

Shoulder Assembly: fitting is good, just need some pinning and putty to smoothen some deformed surface.

The kit as of this stage, peronally I'm quite digging it. Very sexy proportions.


BANDAI MG WING VER. KA + RESIN WING 0 CONVERSION KIT WIP 2

Just a little bit of update. Started dry-fitting the kit and its not that pretty. Encountered some problems along the way which will definitely slow this build. Here are some of them;

 Since this is a recasted garage kit, the surface quality is not that good, will need priming and lots of sanding to make the surface smooth and ready for painting.

There are also fitting problems, this one for example; the resin part wont fit the frame of the Bandai kit, it needs some drilling and slicing in order for them to fit perfectly.

 There are also some broken parts, so far this is the only one.

Lots of excess resin materials to be trimmed and cleaned.

Since there are fitting problems most of the backpack parts needs to be pinned and refitted. 
   
So far here's how it looks. Still a long way to go.