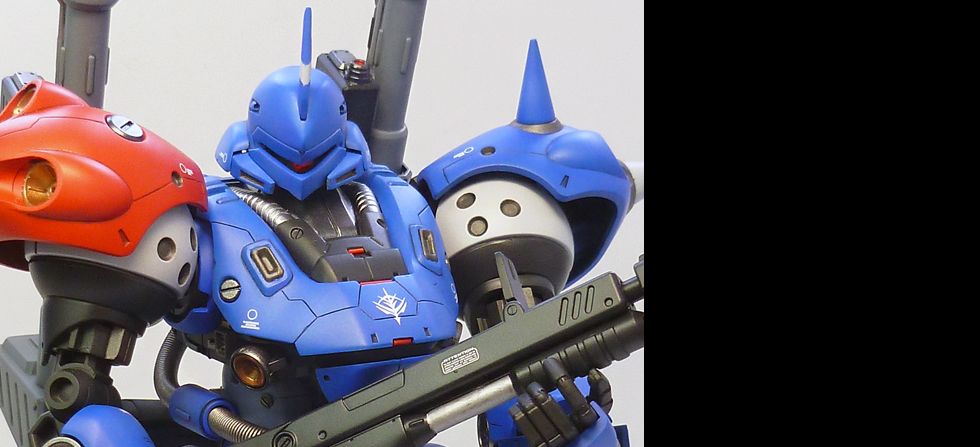
MG MS-18E Kampfer

Excepteur sint occaecat cupid- atat non proident, sunt in culpa qui officia deserunt mollit anim id est laborum.

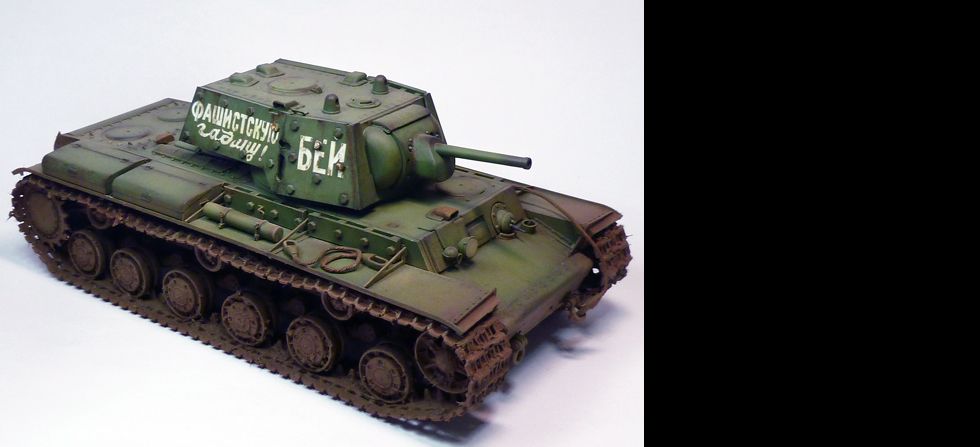
1/35 KV-1 Ehkranami

Excepteur sint occaecat cupid- atat non proident, sunt in culpa qui officia deserunt mollit anim id est laborum.

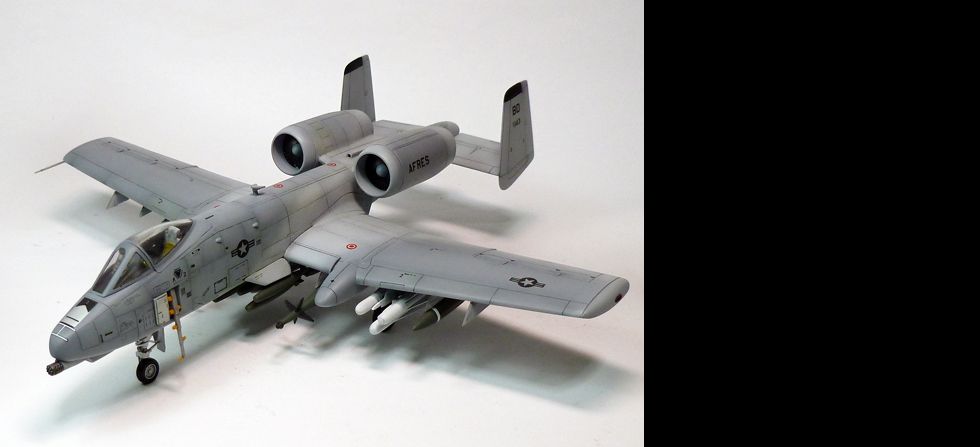
1/72 A-10 Thunderbolt

Excepteur sint occaecat cupid- atat non proident, sunt in culpa qui officia deserunt mollit anim id est laborum.

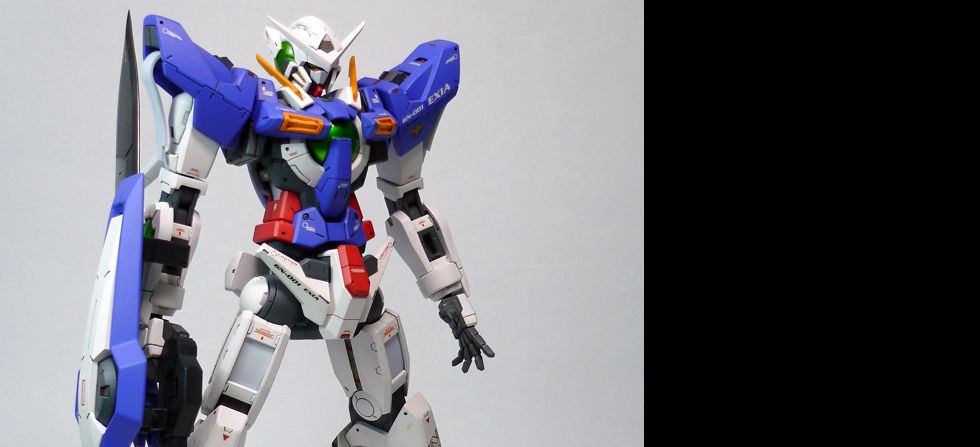
1/100 GN-001 Exia

Excepteur sint occaecat cupid- atat non proident, sunt in culpa qui officia deserunt mollit anim id est laborum.

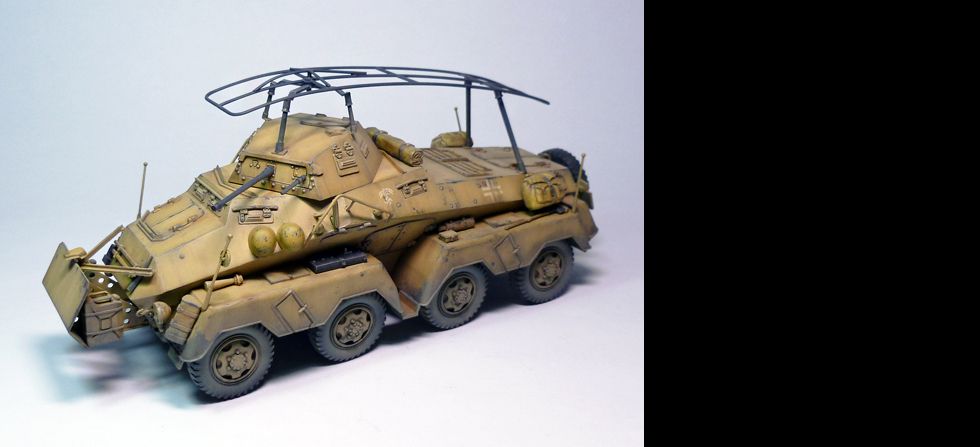
1/35 PanzerspƤhwagen 8Rad Sd.Kfz.232

Excepteur sint occaecat cupid- atat non proident, sunt in culpa qui officia deserunt mollit anim id est laborum.

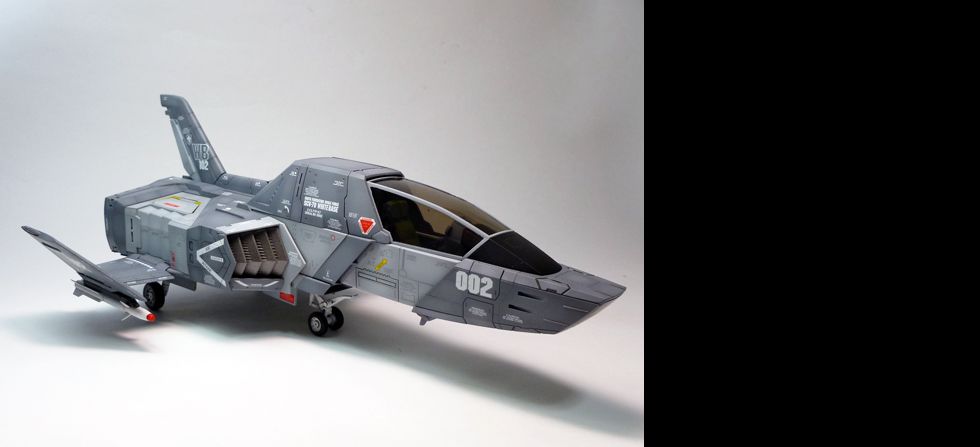
UCHG Core Fighter

Excepteur sint occaecat cupid- atat non proident, sunt in culpa qui officia deserunt mollit anim id est laborum.

Tamiya 1/35 Schwerer Panzerspahwagen WIP Update: Drybrush and Chippings


Like the filter, I also used two colors for the drybrushing. First is light yellow then followed by dark gray on selected areas. Still have to tone it down a bit. I also did some paint chippings and rust. One more layer of light dusting on the lower hull and wheels and its done.

Tamiya 1/35 Schwerer Panzerspahwagen WIP Update: Filter

1st, I used a light gray....


then followed by brown.

Tamiya 1/35 Schwerer Panzerspahwagen WIP Update : Decals & Wash


Here's a small update. Decals were applied and sealed with a semi-gloss coat. After curing I applied a dark brown wash to raise some details of the kit. I also hand-painted some of the details using Tamiya enamels.

Tamiya 1/35 Schwerer Panzerspahwagen WIP Update : Painting

After fixing and replacing the worn out bushing of my old and trusty compressor... painting time!

The kit was primed with Mr. Surfacer 1000, then highlighted the edges, rivets etc. with dark gray.
Applied the base color which produced a subtle shade.

After drying and curing, I applied two lighter shades of the base coat as highlight and to show gradation.

Char's Zaku II Done


This project was inspired by NGT's HGUC Zaku build. I reshaped the torso area to make it a bit bulkier. Also did some armor cuts and separation on the skirts. I also extended the thighs by 2.5mm and did some articulation mods on it. The usual panel lines and small pla-strips were added for detailing purposes. I also modify the backpack, by adding after market thrusters. o-bolts and pla plates. More pics at the main site -- Mechaion Designs

Tamiya 1/35 Schwerer Panzerspahwagen WIP Update : Assembly 3

Construction of the turret and bulletproof plate.

At last, done with the assembly stage! Now the fun stuff begins!

Tamiya 1/35 Schwerer Panzerspahwagen WIP Update : Assembly 2

after fixing the suspensions in place.

upper hull was fixed too, there were some seam that needs some putty work. Wheels were dry-fitted to check proper alignment.

construction of the fenders.


another dry-fit just to check before cementing the fenders to the lower hull.

Tamiya 1/35 Schwerer Panzerspahwagen 8-Rad SdKfz232 WIP

The heavy PanzerspƤhwagen was a large and ungainly but very fast addition to the German mobile arsenal of the early war years. The original 6-rad (6 wheeled) versions were based on a 6x4 truck with armoured body, but by 1937 they were being replaced by the 8-rad versions. During the replacement, the Sd.Kfz numbers were carried directly over; differentiation is made by the addition of 6-Rad or 8-Rad (Ger: "6 wheel" or "8 wheel") in the vehicle name.
These vehicles first saw combat with the campaign against Poland and in the Battle of France. The radio communication cars proved their ability in infantry support, especially during street fighting. Later they saw use in both the USSR and North Africa. Extreme climatic conditions in both these areas proved too severe for the vehicle. In the USSR, adverse ground conditions immobilized 150 Sd.Kfz 232s during the first wet season of the campaign. In the desert, heat and sand created some maintenance problems. Still, the eight-wheeled cars turned out to be the best vehicles that Rommel had for long range reconnaissance across the wide desert territory.

from: Wikipedia

Contents:
Tamiya first released the Schwerer PanzerspƤhwagen 8-Rad Sd.Kfz.232 (kit #35036) back in 1974 and was quite a detailed kit for its day with separate suspension components and nicely done hull/turret details.

from: www.perthmilitarymodelling.com
--------------------------------------------------------------------------------------------

ASSEMBLY:

here's the transmission and leaf springs. lots of mold lines that still needs to be trimmed.

construction of the suspensions.

also assembled the wheels and underguard.


fixed all the components of the lower hull and hatches.

HGUC Zaku II WIP Update: Painting and Decals

Painted the kit with traditional Char colors. Also decided to paint the joints and some weapon parts in metallics instead of gray.

Hand-brushed the details of cables, hands, soles, skirt and backpack.

Applied dry transfers and water slide decals.

HGUC Zaku II WIP Update: Extra Details

Scribed more panel lines on the legs, shield and head.

I also added a few pla-strips on some parts, just to give it a little design and texture.

Using a 3mm pla-rod, I drilled a 2.5mm hole at the middle to serve as the mono eye's encasement.

HGUC Zaku II WIP Update: Thighs, Skirts & Backpack

Did some articulation mods at the thighs. Cut it in half, placed 1.5mm plates on each half and inserted a PC and rod to provide rotation. I also trimmed the upper portion of it for more mobility when attached to the crotch area.

Detailed the skirts a bit by cutting and trimming. Also added a few panels at the back.

The stock backpack was kindda plain so I did some pla-plating. I also used O-bolts for additional details. After market thrusters will be added.

HGUC Zaku II WIP Update: Torso & Crotch Mods

Back to Gundams again after trying and experimenting on Armor kits. This is for the Mechapinoy In-house compe. Its a 1/144 scale Zaku II kit and I'm just gonna do some small modifications which will be hardly noticeable once painted. Maybe add some panel lines and little bits of details here and there just to improve the aesthetic look of it. But basically Im still going for the OOTB look.

Reshaped and bulked up the torso using pla-plates and epoxy putty. I find the stock torso to be a little bit out of proportion (small for the head). I also placed some plates at the sides just to give it some depth or detail.

Modified the crotch area too... extended it forward to complement the torso.