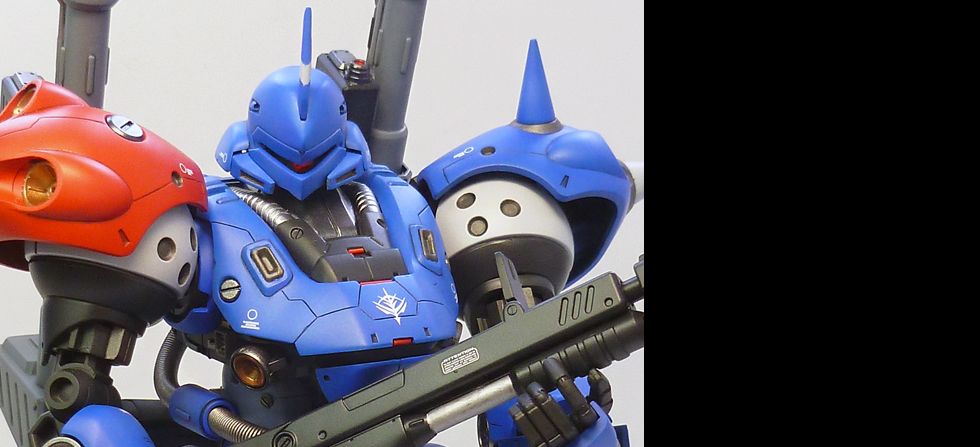
MG MS-18E Kampfer

Excepteur sint occaecat cupid- atat non proident, sunt in culpa qui officia deserunt mollit anim id est laborum.

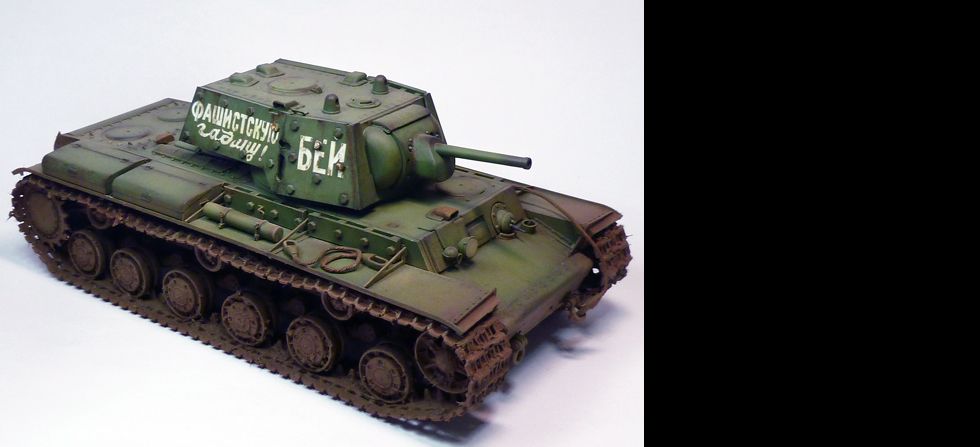
1/35 KV-1 Ehkranami

Excepteur sint occaecat cupid- atat non proident, sunt in culpa qui officia deserunt mollit anim id est laborum.

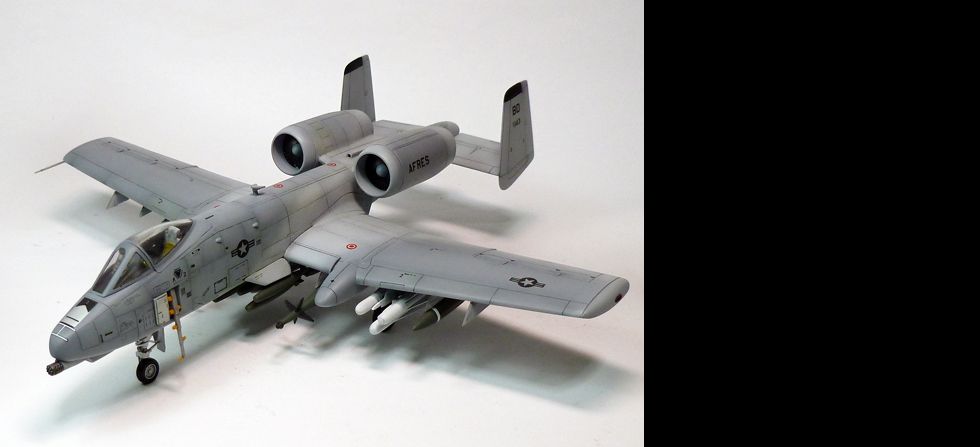
1/72 A-10 Thunderbolt

Excepteur sint occaecat cupid- atat non proident, sunt in culpa qui officia deserunt mollit anim id est laborum.

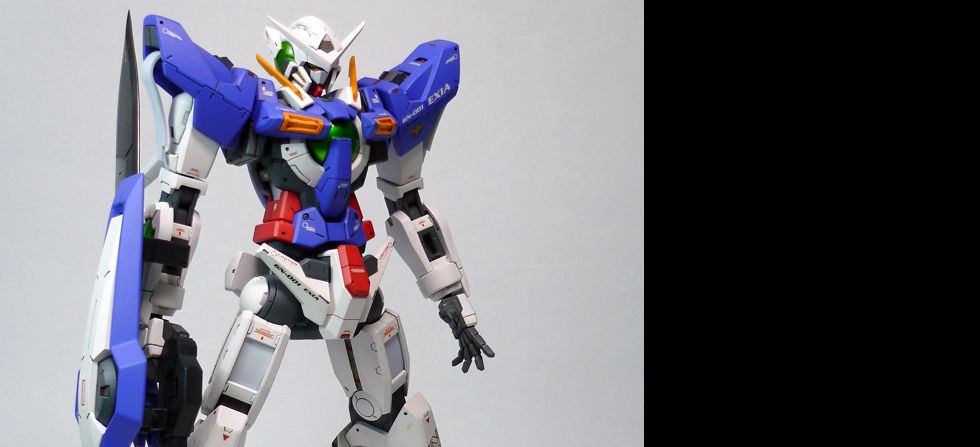
1/100 GN-001 Exia

Excepteur sint occaecat cupid- atat non proident, sunt in culpa qui officia deserunt mollit anim id est laborum.

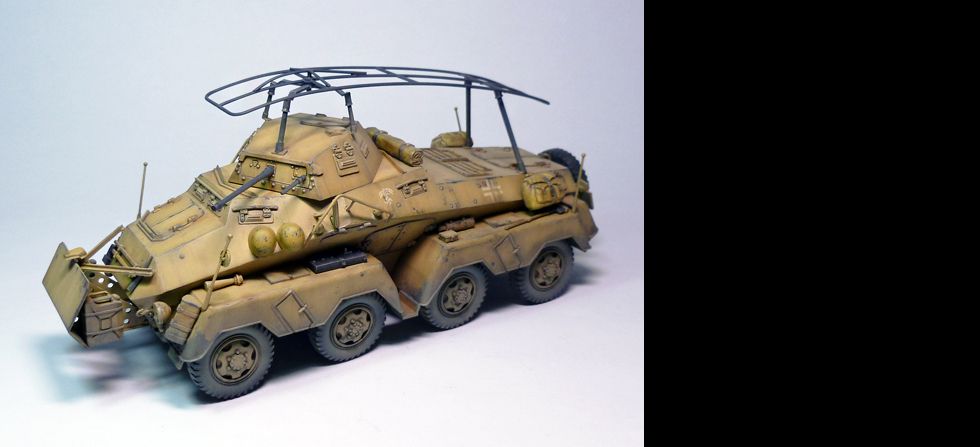
1/35 PanzerspƤhwagen 8Rad Sd.Kfz.232

Excepteur sint occaecat cupid- atat non proident, sunt in culpa qui officia deserunt mollit anim id est laborum.

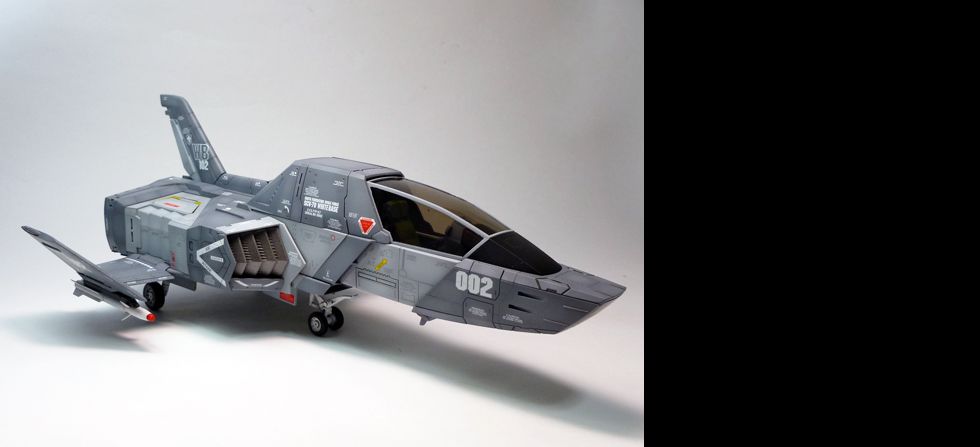
UCHG Core Fighter

Excepteur sint occaecat cupid- atat non proident, sunt in culpa qui officia deserunt mollit anim id est laborum.

NG 1/100 Saviour Gundam Done


This is my latest build. Its a non-grade 1/100 scale Saviour Gundam. The whole build was pretty much straight forward. Modifications done were not that obvious unless you are familiar with the stock kit. I did some adjustments on the overall proportion of the kit to suit my preference such as extension of the lower torso, ankle joints and neck joint, lowering the leg-crotch joint, shaving the upper thighs (more room for articulation). Additional detailing like panel lines, pla-plates, etc. were also applied. For the scheme, I decided to go with the original colors.


NG 1/100 Saviour Gundam WIP: Last Update

Painted, glossed, paneled, decals applied. Just a final flat coat and its all done.


NG 1/100 Saviour Gundam WIP: Shoulder Detail

Used a scrap part from an old kit and Kotobukiya square vents to detail up the shoulder armor. Also looks like it has an internal. I aslo placed some pla plates on the armor itself as additional layer.


NG 1/100 Saviour Gundam WIP: Details 3

There's a big seam line on the side of the torso, I carved it so it will look like a natural gap of the kit. This also allowed me to paint the neck and arm joints separately.

More details...
- added panel lines on the tail
- slowly building some details with pla-plates (still not finished, looking for more reference)
- added IC's on the turrets

NG 1/100 Saviour Gundam WIP: Dryfit

Did a dry fitting session to see how it looks after the extensions and mods. So far it looks fine to me, pretty much suits my preference. BTW I also extended the waist and front skirts. Applied pla-plates on the torso and skirt areas for additional detail and depth to the kit.

A small modification on the riffle, the OOTB is too long for me.

Here are some poses which the kit can do now.


NG 1/100 Saviour Gundam WIP: Details 2

More panel lines. I also replaced the detail at the thighs that were erased during sanding with pla-plate.

- Made some cuts at the side of the armor to add more articulation on the shoulder joint.
- Cuts and details on the lower arms.
- Lowered and lengthen the thigh joints, again for added articulation.
- Extended the ankle joints with pla-plates.


NG 1/100 Saviour Gundam WIP: Details


Some of you might have this kit and we know its notoriously plain-looking. With lots of empty spaces on some large parts like the legs. Currently Im slowly building and adding details using pla-plates. Panel lines and some rivet holes were also added.

NG 1/100 Saviour Gundam WIP: Intro

Currently doing a fun build. Its a long planned and abandoned project of mine. As you can see the proportion of this kit in MS mode is a bit crappy (well for me at least). So I guess a bit of extensions are needed for it to fit my personal preference.

First, I did the simplest articulation mod I know by shaving the top-medial portion of the thighs so it can have a wider stance.

I also did some pre-painting mods on the legs, really not that necessary but I end up doing it since I want to change the color of some parts and Im kindda lazy to do masking work later.


HG00 Gundam Nadleeh Done


I manage to finish this side project of mine. Even though its a bit cold and rainy these last few weeks. My main concern was the possibility of "frosting" due to the weather, but it all turned out pretty good. You can call it an OOTB finish, I just did a few panel lining and details to it.

More at the main gallery -- Mechaion Designs


HG00 Throne Drei Done


My latest build. A 1/144 HG00 Throne Drei. I was able to finish it after two weeks of cramming to be able to join the Mechapinoy TBIB In-house Competition. Modifications done were extending the neck and waist joints. I also added panel lines and rivet holes as additional details. I also changed the color scheme a bit to give it a little flair.

More at the main gallery -- Mechaion Designs


HG00 Throne Drei WIP


Its a relief that we were given another week to finish our entries. It gave me more time to finish and be a little bit more meticulous. Im just waiting for the other parts to cure from the final flat coat and its all done. :)


HG00 Throne Drei WIP: Painting


Painted all the system injected parts and metallics.