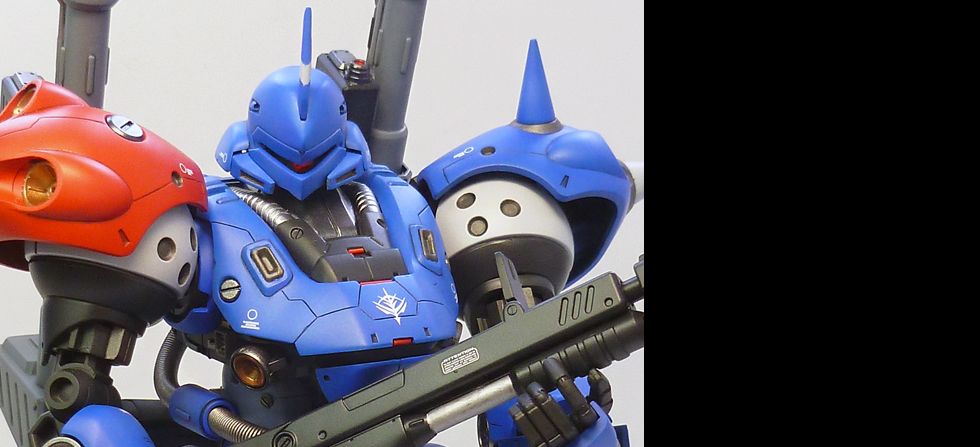
MG MS-18E Kampfer

Excepteur sint occaecat cupid- atat non proident, sunt in culpa qui officia deserunt mollit anim id est laborum.

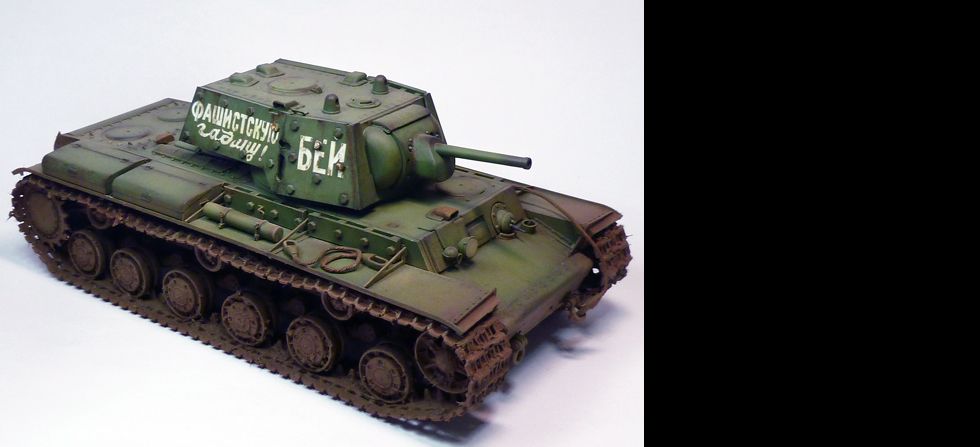
1/35 KV-1 Ehkranami

Excepteur sint occaecat cupid- atat non proident, sunt in culpa qui officia deserunt mollit anim id est laborum.

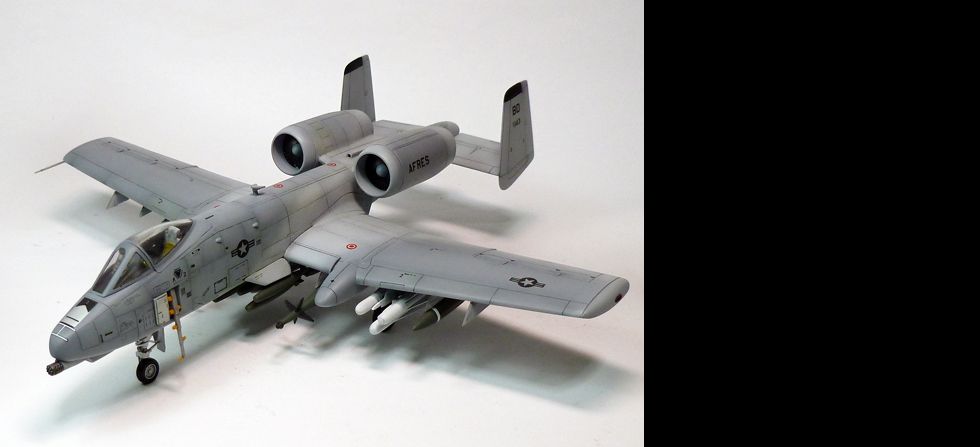
1/72 A-10 Thunderbolt

Excepteur sint occaecat cupid- atat non proident, sunt in culpa qui officia deserunt mollit anim id est laborum.

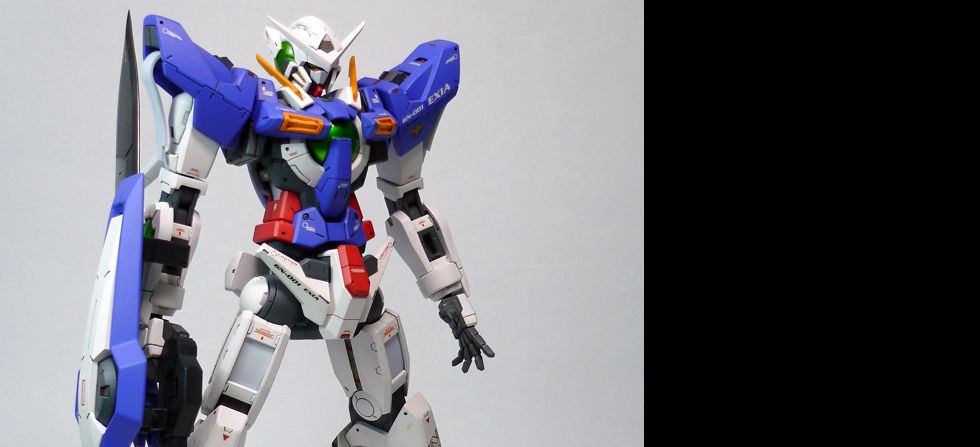
1/100 GN-001 Exia

Excepteur sint occaecat cupid- atat non proident, sunt in culpa qui officia deserunt mollit anim id est laborum.

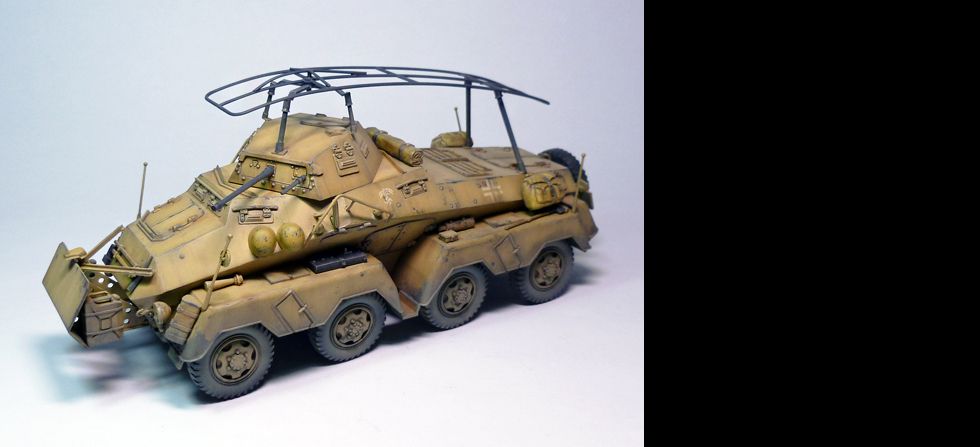
1/35 PanzerspƤhwagen 8Rad Sd.Kfz.232

Excepteur sint occaecat cupid- atat non proident, sunt in culpa qui officia deserunt mollit anim id est laborum.

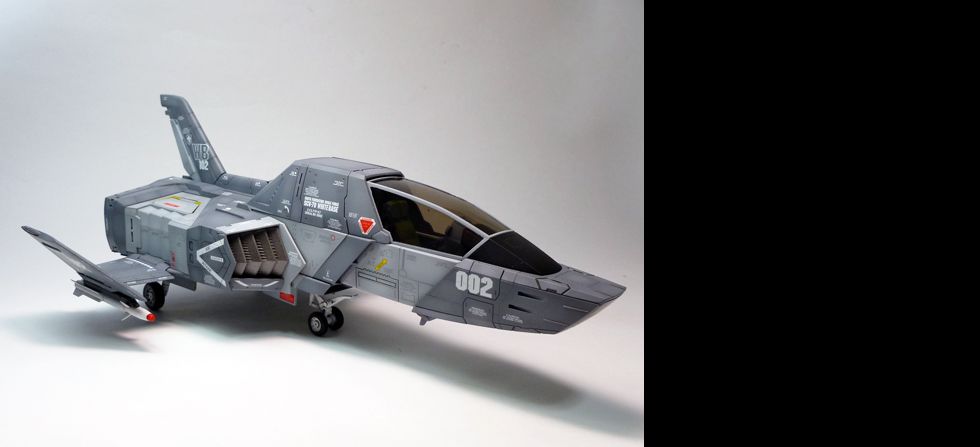
UCHG Core Fighter

Excepteur sint occaecat cupid- atat non proident, sunt in culpa qui officia deserunt mollit anim id est laborum.

Trumpeter 1/35 KV-1's Ehkranami Done


Been a while, been busy with the local modeling events here lately. Here's my 3rd attempt on armor modeling. Its a 1/35th scale Russian KV-1 "Ehkranami". Its a pretty straight forward OOTB build. I use Russian Green as my base paint, then toning it a bit with black and white/yellow for the post shade and highlights. Dry-brushed the kit with dark brown and dark gray to simulate scratches, sponge technique was used for the chippings. I also applied a dark brown pinwash and filter. For the mud effect I used Tamiya acrylics mixed with talc and fine sand (many thanks to Fritz for this recipe). Dust and Rust was achieved by using Tamiya weathering sets and oil paints.

Also kudos to Plamo for their tutorials and WIP's. Been a great help and excellent reference for this build.


Trumpeter 1/35 KV-1's Ehkranami: WIP 3

Mud effects applied using acrylics and talc.

Then followed by light dusting.


Trumpeter 1/35 KV-1's Ehkranami: WIP 2

At this point I've already applied the decals (also scratched them a bit to fit the weathered look). Also started with the initial rust color and a pin-wash to raise the details.

A darker color for the rust was applied.

Another layer of rust, this time using Tamiya Weathering Set. A dark brown and light gray filter was also applied.

Here's the turret, instead of drybrushing it with a lighter color, I used dark brown to simulate scratches and chi[[ings. I find this a bit more realistic than the circa way we all used to. Credits to the M Workshop for this technique.


Trumpeter 1/35 KV-1's Ehkranami

Here's what I've been up to for a couple of weeks now. Back to armor modeling, also a break from mechs/Gundam kits. This one will be purely out of the box. Assembly and fitting is quite decent, except for warping on some parts (which can easily be fixed), maybe due to the temperature and storage. A great armor kit specially for those who are new to the genre like me.

Painted the tracks (plastic) black then highlighted it with reddish brown mix and drybrushed with light gray.

Russian Green as base coat.

Post-shaded with a mixture of Russian green + black

Then highlighted it with a mix of Russian Green + Yellow + White


NG 1/100 Saviour Gundam Done


This is my latest build. Its a non-grade 1/100 scale Saviour Gundam. The whole build was pretty much straight forward. Modifications done were not that obvious unless you are familiar with the stock kit. I did some adjustments on the overall proportion of the kit to suit my preference such as extension of the lower torso, ankle joints and neck joint, lowering the leg-crotch joint, shaving the upper thighs (more room for articulation). Additional detailing like panel lines, pla-plates, etc. were also applied. For the scheme, I decided to go with the original colors.


NG 1/100 Saviour Gundam WIP: Last Update

Painted, glossed, paneled, decals applied. Just a final flat coat and its all done.


NG 1/100 Saviour Gundam WIP: Shoulder Detail

Used a scrap part from an old kit and Kotobukiya square vents to detail up the shoulder armor. Also looks like it has an internal. I aslo placed some pla plates on the armor itself as additional layer.


NG 1/100 Saviour Gundam WIP: Details 3

There's a big seam line on the side of the torso, I carved it so it will look like a natural gap of the kit. This also allowed me to paint the neck and arm joints separately.

More details...
- added panel lines on the tail
- slowly building some details with pla-plates (still not finished, looking for more reference)
- added IC's on the turrets

NG 1/100 Saviour Gundam WIP: Dryfit

Did a dry fitting session to see how it looks after the extensions and mods. So far it looks fine to me, pretty much suits my preference. BTW I also extended the waist and front skirts. Applied pla-plates on the torso and skirt areas for additional detail and depth to the kit.

A small modification on the riffle, the OOTB is too long for me.

Here are some poses which the kit can do now.


NG 1/100 Saviour Gundam WIP: Details 2

More panel lines. I also replaced the detail at the thighs that were erased during sanding with pla-plate.

- Made some cuts at the side of the armor to add more articulation on the shoulder joint.
- Cuts and details on the lower arms.
- Lowered and lengthen the thigh joints, again for added articulation.
- Extended the ankle joints with pla-plates.


NG 1/100 Saviour Gundam WIP: Details


Some of you might have this kit and we know its notoriously plain-looking. With lots of empty spaces on some large parts like the legs. Currently Im slowly building and adding details using pla-plates. Panel lines and some rivet holes were also added.

NG 1/100 Saviour Gundam WIP: Intro

Currently doing a fun build. Its a long planned and abandoned project of mine. As you can see the proportion of this kit in MS mode is a bit crappy (well for me at least). So I guess a bit of extensions are needed for it to fit my personal preference.

First, I did the simplest articulation mod I know by shaving the top-medial portion of the thighs so it can have a wider stance.

I also did some pre-painting mods on the legs, really not that necessary but I end up doing it since I want to change the color of some parts and Im kindda lazy to do masking work later.