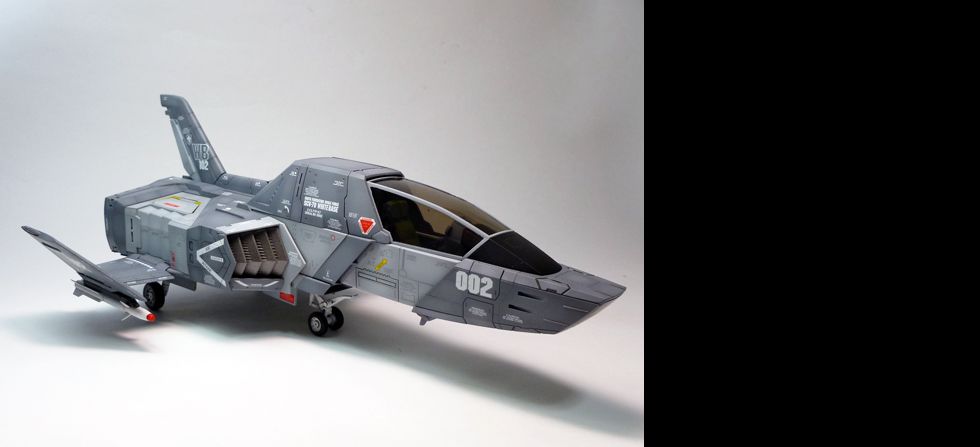
MG MS-18E Kampfer

Excepteur sint occaecat cupid- atat non proident, sunt in culpa qui officia deserunt mollit anim id est laborum.

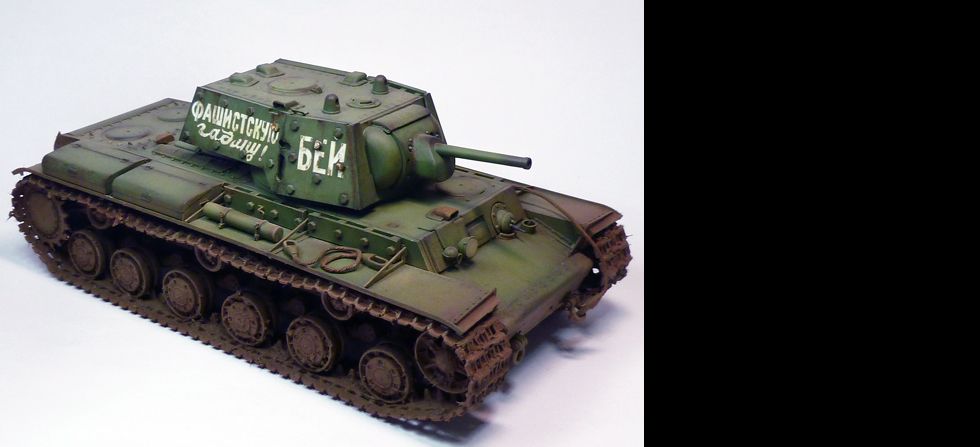
1/35 KV-1 Ehkranami

Excepteur sint occaecat cupid- atat non proident, sunt in culpa qui officia deserunt mollit anim id est laborum.

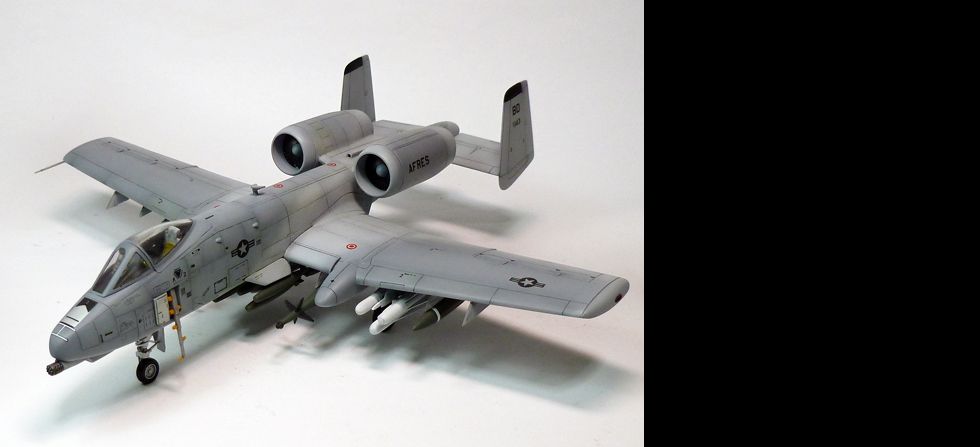
1/72 A-10 Thunderbolt

Excepteur sint occaecat cupid- atat non proident, sunt in culpa qui officia deserunt mollit anim id est laborum.

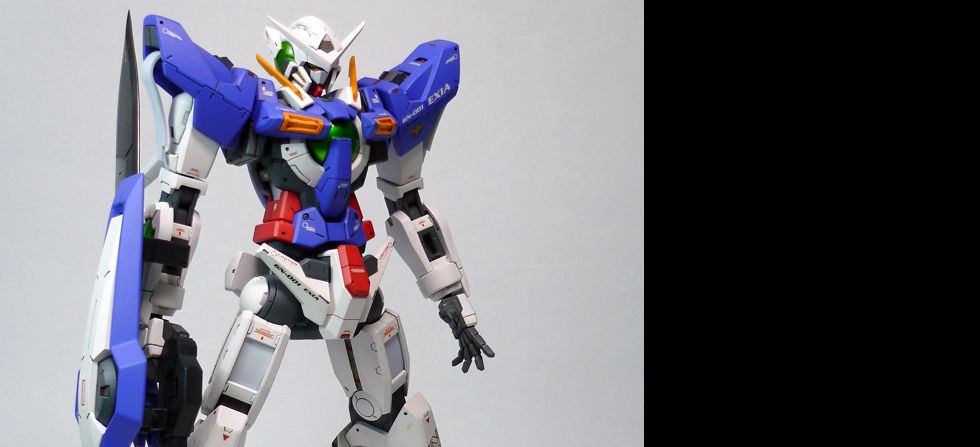
1/100 GN-001 Exia

Excepteur sint occaecat cupid- atat non proident, sunt in culpa qui officia deserunt mollit anim id est laborum.

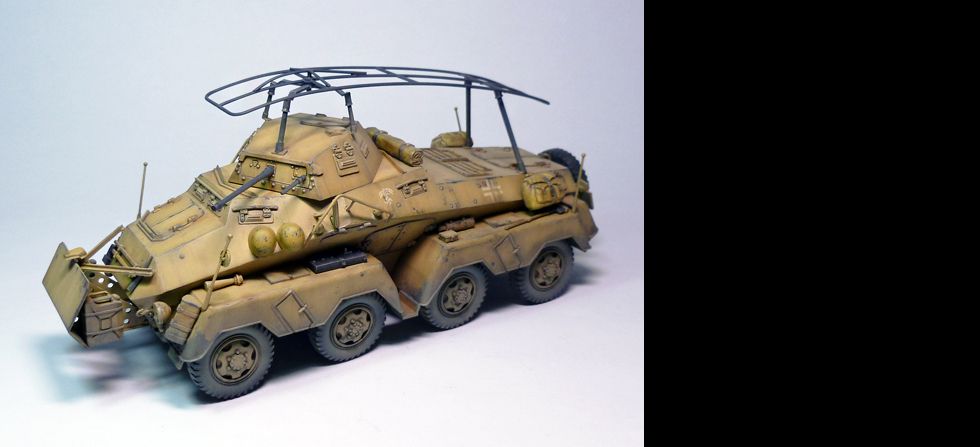
1/35 PanzerspƤhwagen 8Rad Sd.Kfz.232

Excepteur sint occaecat cupid- atat non proident, sunt in culpa qui officia deserunt mollit anim id est laborum.

UCHG Core Fighter

Excepteur sint occaecat cupid- atat non proident, sunt in culpa qui officia deserunt mollit anim id est laborum.

Academy 1/72 A-10A Thunderbolt: Primed

Primed the whole kit including landing gears/wheels and weapons. Also applied black to all the panels for preshading.


Academy 1/72 A-10A Thunderbolt: Tail-grabber No More


Just a short update; finally resolved the tail-grabbing issue. Many thanks to the guys at IPMS Philippines and Plamo for the inputs. By the way I used lead weights. real heavy and works perfectly. :D I also sealed the fuselage, expecting heavy putty work and sanding.


Academy 1/72 A-10A Thunderbolt: Balancing Issue

As expected, this guy was tail-heavy! I have to put so much metal stuffs I found that I cant fit it inside the cockpit and nose area of the kit anymore. Im thinking of using the Tamiya Multi Chasis Balance Weight as an alternative coz its smaller and easier to hide. But Im still asking the pros at Plamo and Mechapinoy, maybe they have a better suggestion.


Academy 1/72 A-10A Thunderbolt

This will be my first time building and painting a plane scale model, and its a part of the Mechapinoy 1/72 Aircraft group build. I choose the A-10A simply because its one of my fave birds of all time. I must admit that building this will not be a breeze since its my first time and I have to rely on different aircraft builds for reference. So wish me luck. :)

For the color scheme I intend to use this one:


Here's a bit of history about the model (c/o Wikipedia)

The A-10 Thunderbolt II is an American single-seat, twin-engine, straight-wing jet aircraft developed by Fairchild-Republic in the early 1970s. The A-10 was designed for a United States Air Force requirement to provide close air support (CAS) for ground forces by attacking tanks, armored vehicles, and other ground targets with a limited air interdiction capability. It is the first U.S. Air Force aircraft designed exclusively for close air support.

The A-10 was designed around the GAU-8 Avenger, a heavy automatic cannon which forms the aircraft's primary armament. The aircraft's hull incorporates over 1,200 pounds (540 kg) of armor and was designed with survivability as a priority, with protective measures in place which enable the aircraft to continue flying even after taking significant damage.

The A-10's official name comes from the Republic P-47 Thunderbolt of World War II, a fighter that was particularly effective at close air support. The A-10 is more commonly known by its nickname "Warthog" or simply "Hog". As a secondary mission, it provides airborne forward air control, guiding other aircraft against ground targets. A-10s used primarily in this role are designated OA-10.


Now onto the build...

As most aircrafts modelers do, I painted the cockpit and insides of the fuselage, actually hand-brushed using Gunze lacquer paints. I also used oil paints to give it a general wash. Was kindda disappointed because the instrument panels were only water slide decals.


I also dry fitted the kit to study it further; I really dont want to mess up sealing and painting this kit. I also realized that it was not a good idea to get an Academy kit, especially for a first timer like me... yes, it was a really cheap kit but it also has a lot of flaws like huge gaps, fitting issues, etc. Looks like this one will need a ton of putty work and sanding. I should have gotten the Hasegawa or Revell instead, oh well. (LOL)


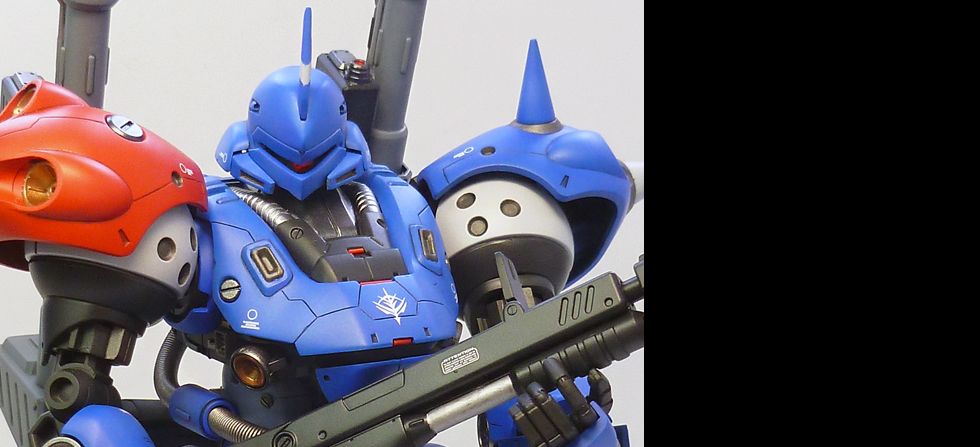
HGUC Hyaku Shiki Done


My last kit for 2010, a kitbash of the HGUC Hyaku Shiki and Zeta. Just like of my usual builds this guy was treated with additional panel lines, pla plates, etc as details. It was a nice fun build which kept me busy in between builds for the last quarter competitions locally.

Main gallery at Mechaion Designs

HAPPY NEW YEAR!!!


Merry Christmas!


HGUC RX-79[G] Ground Gundam Type


Finished this kit about a month ago for the IPMS Philippines Nationals. Its a purely OOTB build with a slightly weathered scheme. I kindda miss pre-shading mecha kits, and its perfect to practice weathering I've learned from armor building. Chippings and filter were achieved using oil paints (sorry, cant be seen clearly from the photo because of the camera's exposure), then I used acrylics and powders for the dusting on the feet and legs. I was also amazed on the tooling of this kit, very few seam lines to tackle and excellent fitting. Probably my favorite build this year.


Sangokuden Bacho Blue Done


At last after more than a year I was able to build another Sangokuden kit. I must admit I had difficulties with this kit specially with regards to masking and paint finish. Lots of bleeding and touch-ups were done not to mention there were also some orange peel on the finish. But despite of all the mishaps Im still glad that I was able to finish this and its another addition to my Sangokuden collection.

Also, credits to zoidx_chung of Zero-G for letting me use his color scheme.


HGUC Hyaku Shiki: WIP Photos


Just another scrap build, been working on this kit for quite some time now... the usual on and off. I was a bit busy and lazy that I forgot to make a WIP entry for this one. But I still want to share it with you guys so just follow the link to my album below. Thank you!


Trumpeter 1/35 KV-1's Ehkranami Done


Been a while, been busy with the local modeling events here lately. Here's my 3rd attempt on armor modeling. Its a 1/35th scale Russian KV-1 "Ehkranami". Its a pretty straight forward OOTB build. I use Russian Green as my base paint, then toning it a bit with black and white/yellow for the post shade and highlights. Dry-brushed the kit with dark brown and dark gray to simulate scratches, sponge technique was used for the chippings. I also applied a dark brown pinwash and filter. For the mud effect I used Tamiya acrylics mixed with talc and fine sand (many thanks to Fritz for this recipe). Dust and Rust was achieved by using Tamiya weathering sets and oil paints.

Also kudos to Plamo for their tutorials and WIP's. Been a great help and excellent reference for this build.


Trumpeter 1/35 KV-1's Ehkranami: WIP 3

Mud effects applied using acrylics and talc.

Then followed by light dusting.


Trumpeter 1/35 KV-1's Ehkranami: WIP 2

At this point I've already applied the decals (also scratched them a bit to fit the weathered look). Also started with the initial rust color and a pin-wash to raise the details.

A darker color for the rust was applied.

Another layer of rust, this time using Tamiya Weathering Set. A dark brown and light gray filter was also applied.

Here's the turret, instead of drybrushing it with a lighter color, I used dark brown to simulate scratches and chi[[ings. I find this a bit more realistic than the circa way we all used to. Credits to the M Workshop for this technique.