MG MS-18E Kampfer

Excepteur sint occaecat cupid- atat non proident, sunt in culpa qui officia deserunt mollit anim id est laborum.

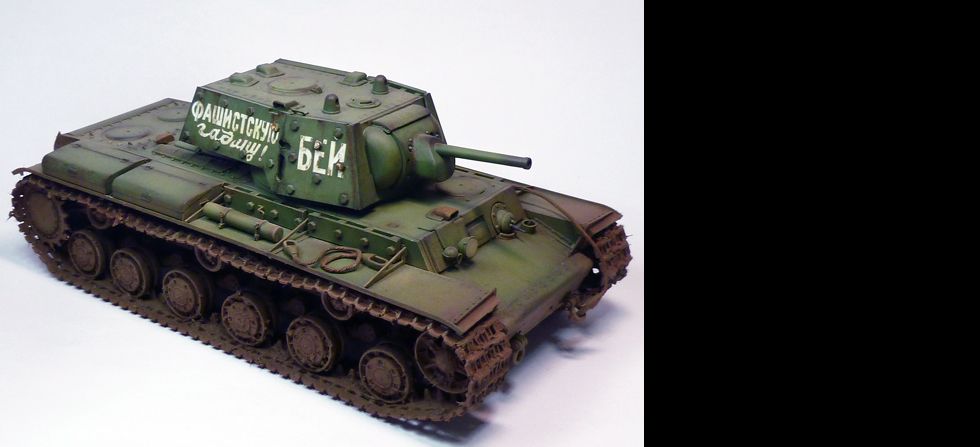
1/35 KV-1 Ehkranami

Excepteur sint occaecat cupid- atat non proident, sunt in culpa qui officia deserunt mollit anim id est laborum.

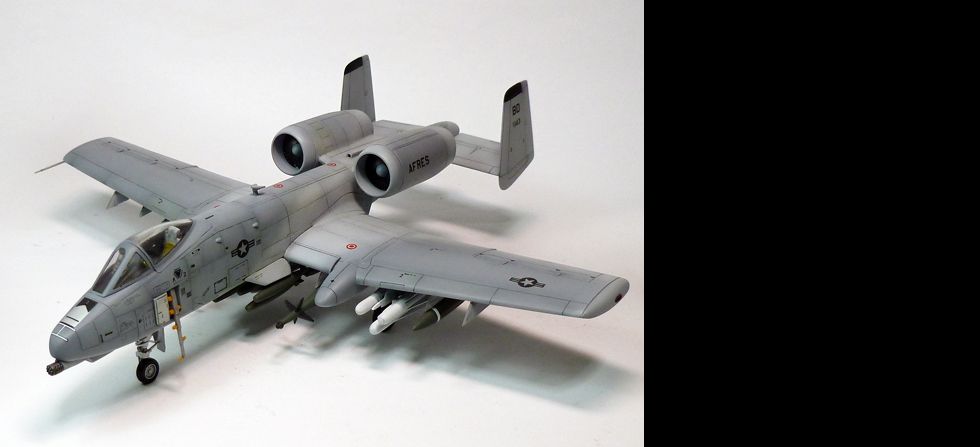
1/72 A-10 Thunderbolt

Excepteur sint occaecat cupid- atat non proident, sunt in culpa qui officia deserunt mollit anim id est laborum.

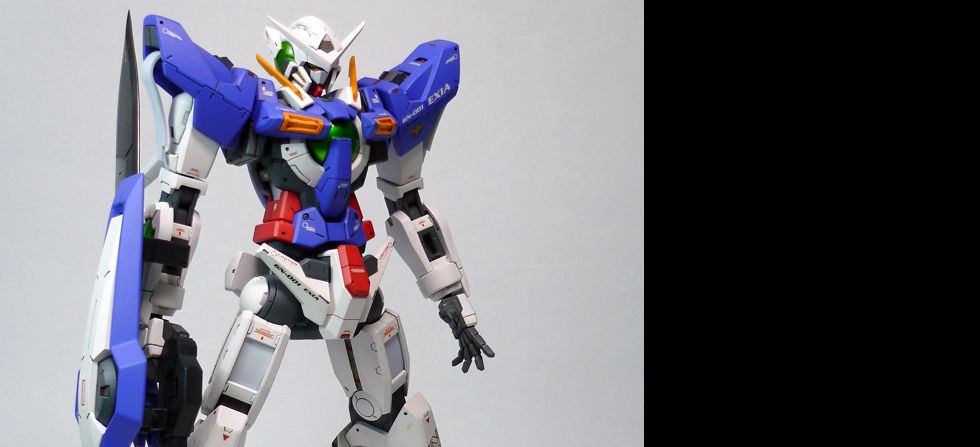
1/100 GN-001 Exia

Excepteur sint occaecat cupid- atat non proident, sunt in culpa qui officia deserunt mollit anim id est laborum.

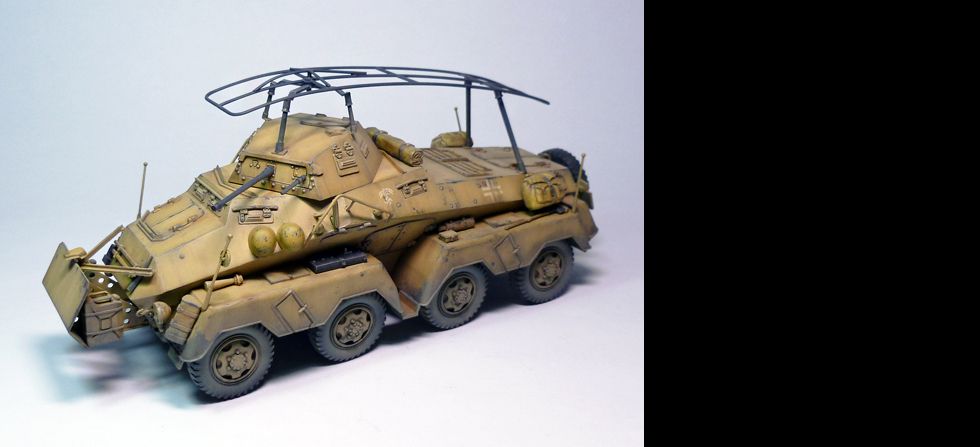
1/35 PanzerspƤhwagen 8Rad Sd.Kfz.232

Excepteur sint occaecat cupid- atat non proident, sunt in culpa qui officia deserunt mollit anim id est laborum.

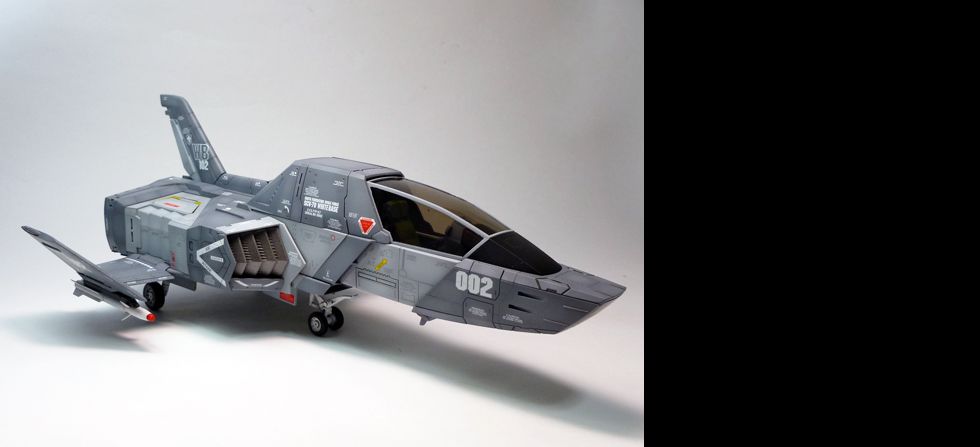
UCHG Core Fighter

Excepteur sint occaecat cupid- atat non proident, sunt in culpa qui officia deserunt mollit anim id est laborum.

Kotobukiya Type38-1 Ryurai-Kai WIP: Primed

Photobucket

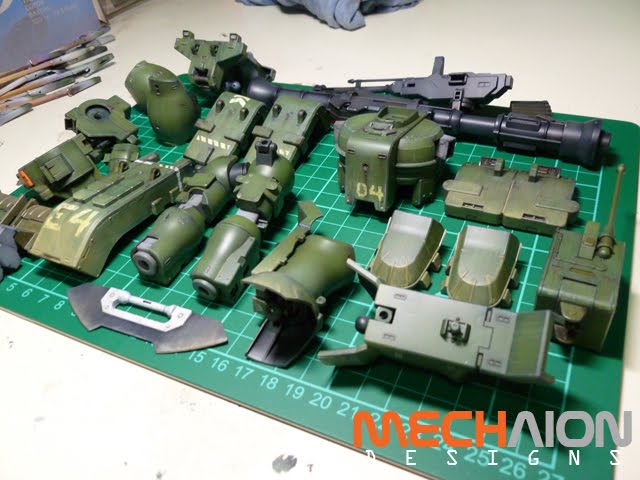
Here's a small update for this build. Primed all the parts to check for some imperfections, unfortunately there are still a couple of seams and sanding marks which needs to filled and sanded again. After that, off to painting. I also plan to alter the scheme a bit but I still have to ask permission from the owner.


Photobucket

Oh! Remember what I said at the intro post of this build that there are only a few sealing to be done? Here's the photo of those parts.


Kotobukiya Type38-1 Ryurai-Kai WIP: Intro


Back with another build! Finally, a non-gundam but unfortunately another mecha, LOL. Starting to miss armor and aircraft kits. Well, Im just doing this for a friend and first time handling aFrame Arms kit from Kotobukiya. At first I was a bit hesitant due to my experience on their first batches of Armored Core kits which I didnt quite like due to the quality of plastic used. It was kindda brittle resulting to breaking or parts, especially the joints even during the dry fitting stage. But I take it all back, these new Koto kits can be very much compared to Bandai quality. The PS they used is similar and quite strong compared to their old kits I've done. Another thing that impressed me is the breakdown of parts, very detailed and only a few seams to tackle. Its like building a mini Master Grade or a Real Grade. Poseability wise (with the armor) is pretty decent. I think my only gripe about this kit is the internals which I find a bit flimsy, but I guess it will tighten after painting. Other than that, its a good kit to own and build, same good quality you can expect from Kotobukiya.

Here's some photos of the snapped kit;

Photobucket Photobucket


NG 1/100 Tieren Ground Type


My latest build, a 1/100 Tieren Ground Type from the Gundam 00 series. Just an OOTB build. Painted with lacquer paints. Weathering (drybrush, pin wash, rust, chippings and filter) done with oil paints. Powdered pigments was also used for the dusting the feet and lover legs. The markings were masked then painted using lacquer. Very nice kit to own in my opinion, aside from the massive size, assembly is quite easy and minimal seam removal. Details are quite nice too especially when compared to the 1/144 counterpart.


Gallery at Mechaion Designs


Sangokuden Tyouhi Gundam

Photobucket

Hello! this is my Tyouhi Gundam from the Sangokuden series. Just a fun build and as usual OOTB. Im quite satisfied with the results, getting used to it again, building small SD's and masking which I believe needs some practice on my part. I used lacquer paints for my base and oils for the wash. Maybe next time I'll tackle a more challenging Sangokuden kit with much details on it.


Gallery at Mechaion Designs


NG 1/100 Tieren Ground Type WIP: Weathering


I think this will be the last update for this build. Done with all the washes, filters and pigments. just a final flat coat on some parts needed. I used moslty oil paints for the washes and filters. Pigments were only used on the feet and lower legs for additional dust effect. Here are the rest of the photos.

Photobucket Photobucket

NG 1/100 Tieren Ground Type WIP: Painting

Kind of a late post. Been a bit busy lately doing some other stuffs. Finished painting and masking of all the parts. Im currently under the weathering stage of the build (will post photos of that soon).


Photobucket Photobucket
Here are all the masked parts. Cant bear not to put decals on it (due to the contest rules) so I decided just to paint all the markings.

Photobucket
Here's also a photo of the backskirt that shows a color variation or depth when a filter is applied. Note; only the right side of the skirt was filtered.


NG 1/100 Tieren Ground Type WIP: Introduction


Its good to be back on my workbench after being busy for the last few months. This time Im gonna tackle a personal fave from the 00 series. This kit is massive in size and quite cheap (if you ask me). Also simple to build and not much of seam removal involved. For this build I plan to do it OOTB, with some minor changes on the color scheme, but will retain the official green color. I also plan to apply some weathering that I've learn from armor model kits.


Here's what I've done so far:

Painted the grays first that needs to be sandwiched between the green parts. Too lazy for pre-painting modifications.


2010 IPMS Philippines BA National Scale Model Competition


"The IPMS Philippines Bert Anido National Scale Model Competition is the largest and most prestigious gathering of scale models and modelers in the region.

The Nationals is an annual, week-long event that has been held at SM Megamall in Madaluyong, Metro Manila since 2003; an event that draws much foot traffic and onlookers.

The Nationals are normally scheduled for early November in the build up to the Christmas season. Models are entered free of charge and are scrutinized by a panel of expert judges within their respective category. These categories are based on the scale, subject and modifications, if any."

from IPMS Philippines


Thank you IPMS Philippines and see you again on the 2011 Nationals!


MG RX-78 NT-1 Done

Photobucket

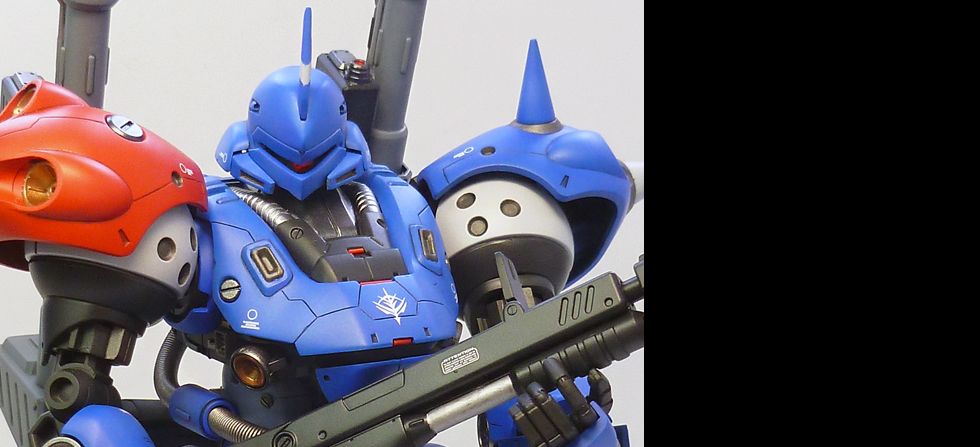
Late post, since my cam broke. This is my NT-1 build and entry to a local compe by Mechapinoy. The inspiration behind this build was both the RG line by Bandai and some garage resin kits. I wanted to detail it up but I also dont want to put too many add on parts/MSG's or PS sheets that can make the outcome very busy. Instead I resorted to armor cuts and addition of new panel lines. The stock head unit was also replaced with an MG RX-78 OYW version, I think it fits the theme well and it looks better. Ankle joints extended by 2.5mm to allow greater articulation for the feet and better stance. Paint scheme was based on the G3 Gundam. Some panels painted in gray to achieve the RG feel.


More photos at Mechaion Designs


2011 GUNDAM MODEL KIT CONTEST


GUNDAM MODEL KIT CONTEST 2011
NATIONAL FINALS
CONTEST MECHANICS

• The contest is open to all Gundam enthusiasts except employees and immediate family members of Bankee Trading Inc., International Toyworld Inc. and its advertising agency up to the second degree of affinity or consanguinity.

• The contest has three categories and will be classified accordingly:

1. Junior category – 8 to 14 years old. Interested participants may assemble and paint any Gundam Brave Battle Warriors model kit.
2. Open Category – 15 years old and above, Open to all amateur modelers. Interested participants may assemble and paint any 1/100 scale Gundam 00 model kit.
3. Special Category – 15 years old and above. Open to expert modelers, to include previous top 3 winners in the past Gundam contest and to all who wish to challenge them. Interested participants may assemble and paint any Gundam Brave Battle Warriors or Gundam 00 model kit item.

Note:
1. NO MODIFICATIONS ARE ALLOWED.
2. We will not accept entries that already joined in previous major or minor Gundam contests or competitions.
3. Stands included in the box set can be used, but will not be part of the scoring. They should be unpainted, with no stickers or decals applied.
4. All entries must have used parts and stickers (if opted to use the stickers) from only one box set, and assembled according to the manual. If the manual shows variant versions using parts from the box set, then only those specific variants are allowed.
5. Puttying, sanding and the use of paint are allowed. Model part detail lines erased by puttying and sanding can be re-lined, but extra lines not in the original part cannot be added.
6. Modified paint schemes are allowed, but must follow the official base colors of the kit. (e.g. you can use light blue or dark blue in place of blue, but you cannot use another color entirely) Weathering is allowed as applied with the painting, but any weathering that will require modifying, melting or cutting the parts for effect is not allowed.

For more info, visit Mechapinoy


MG NT-1 Build Journal

Been quite busy lately and not be able to update on my project. Im currently building an MG NT-1 for Mechapinoy's In house compe (OMNI Mecha). The goal of this build is to simply detail up the kit and change the color scheme. I was also inspired by the Real Grade line. So here's a summary of what I've done so far;


Photobucket Photobucket
Armor cutting and trimming


Photobucket Photobucket

Photobucket Photobucket
Addition of panel lines


Photobucket Photobucket
Seamline removal by carving and using styrene sheets


Photobucket
For the color scheme I decided to go similar to the G3's scheme.


Photobucket
Painted, washed and decals applied.


Raiden Armor Done


Here’s my contribution to the “Weathering VS Metallic” group build of Zero G. It’s a 1/35th scale Raiden Armor from Bandai. Pretty much an old school kit, lots of seam lines but the details were quite good. I chose this kit mainly because of its scale; I really want and need to practice my weathering since I’m becoming an avid fan or armor kits. About the build, it was purely OOTB except for the additional rifle/weapon. Painted with a mixture of dark yellow and tan (Gunze Lacquer Paints). Same mix with my previous Panzerspahwagen build. For the highlights I just added white to the base color. For the weathering; at first I plan to do it simple and conservative, but I went overboard and decided to make it heavy for a change (not sure if I overdo it). Pin wash, Filter, rust were achieved using oil paints (burnt umber, burnt sienna, black, white and yellow ochre). I also used a Balkenkreuz emblem and some German decals since I’m going with the Afrika Korps scheme.

More photos at Mechaion Designs