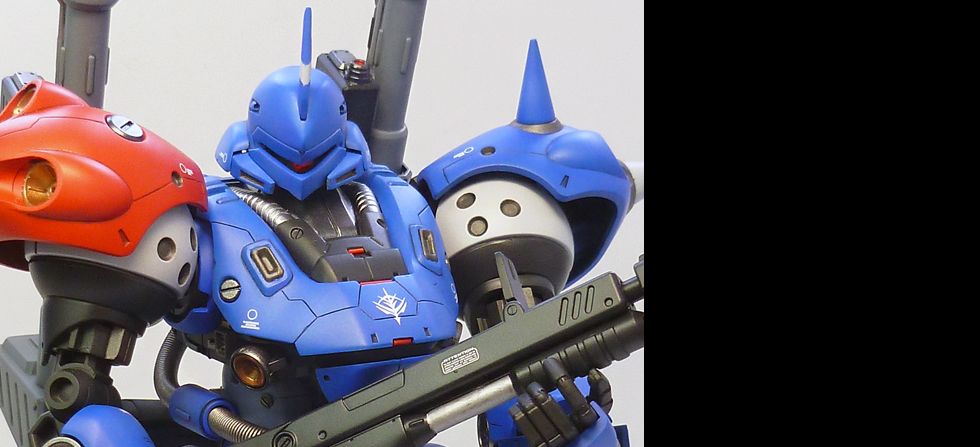
MG MS-18E Kampfer

Excepteur sint occaecat cupid- atat non proident, sunt in culpa qui officia deserunt mollit anim id est laborum.

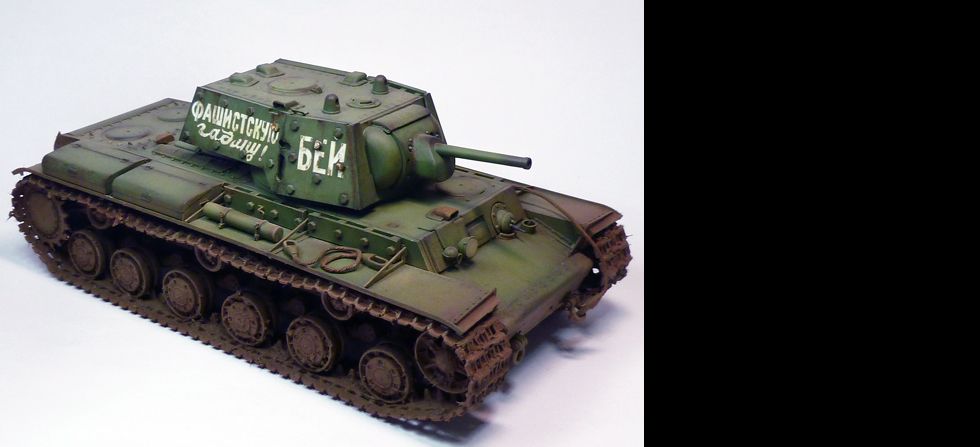
1/35 KV-1 Ehkranami

Excepteur sint occaecat cupid- atat non proident, sunt in culpa qui officia deserunt mollit anim id est laborum.

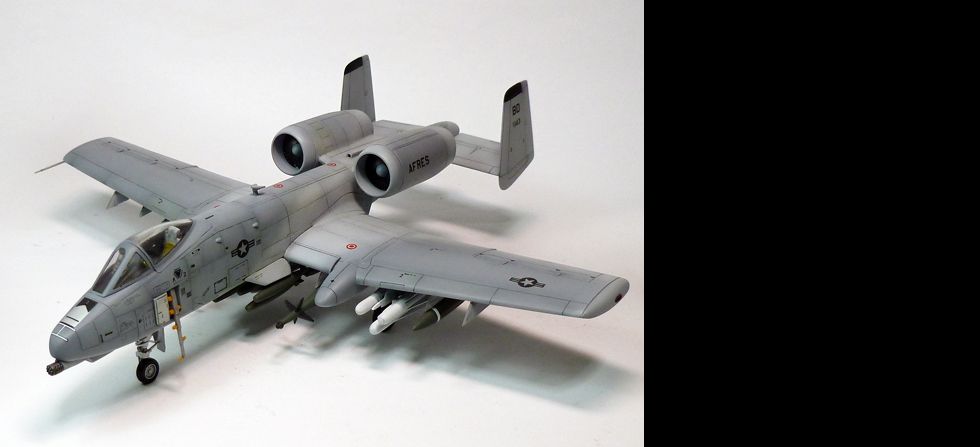
1/72 A-10 Thunderbolt

Excepteur sint occaecat cupid- atat non proident, sunt in culpa qui officia deserunt mollit anim id est laborum.

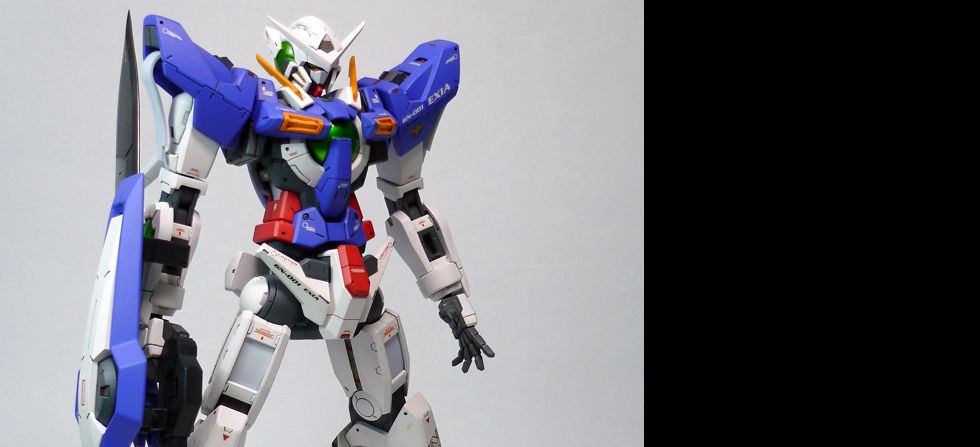
1/100 GN-001 Exia

Excepteur sint occaecat cupid- atat non proident, sunt in culpa qui officia deserunt mollit anim id est laborum.

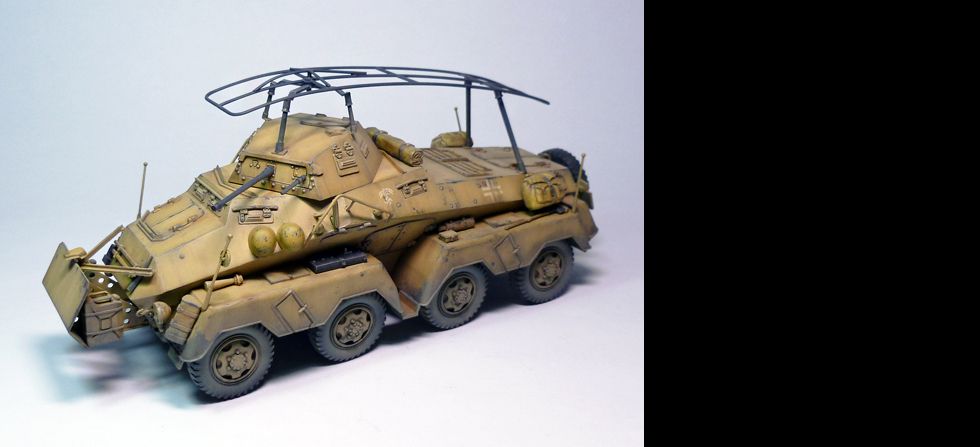
1/35 PanzerspƤhwagen 8Rad Sd.Kfz.232

Excepteur sint occaecat cupid- atat non proident, sunt in culpa qui officia deserunt mollit anim id est laborum.

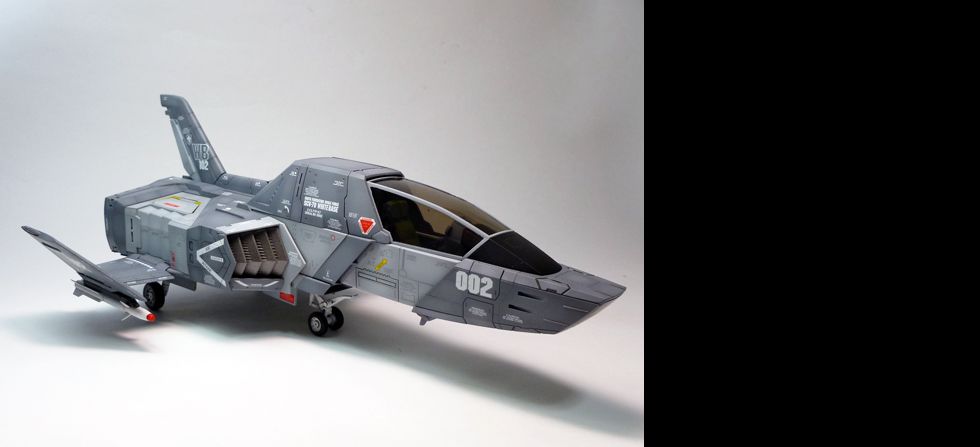
UCHG Core Fighter

Excepteur sint occaecat cupid- atat non proident, sunt in culpa qui officia deserunt mollit anim id est laborum.

The 9th IPMS Philippines Bert Anido National Scale Model Competition: Photos


Here are some photos of the recently concluded IPMS Philippines Nationals. Took some shots of model kits that caught my attention. Again it was very humbling and inspiring to see all those works in one roof! Well done IPMS Philippines for another successful event!


More photos here. :D


Kotobukiya Type38-1 Ryurai-Kai

Finished this kit 2 weeks ago. Its out of the box, I only changed the color of the cannons to dark gray to it just a bit of contrast from the mech. Slightly weathered as requested by the client. Did some dot filtering on the armor and drybrush to simulate scratches. Dusting on the feet and legs were achieved using powder pigments and oils. Custom "warning" decals were also applied.


Gallery at Mechaion Designs


Trumpeter 1/35 M1134 Stryker ATGM WIP: Weathering Pt. 2

Here's the final result after all the weathering applied. Since its a modern AFV, I tried to restrict myself from weathering it too much like my previous WWII armor kits. I didnt apply chippings, too much paint fading. All I did after the filter is a bit of dusting; but instead of using pigments like I used to, I resorted using acrylics (airbrushed). A thing I learned from western armor modelers. Just a final flat coat and its all done.


Trumpeter 1/35 M1134 Stryker ATGM WIP: Paint & Weathering

Here's a step by step process on how I usually paint armor kts. First is I apply a primer then paint some areas black usually the panels and edges (photo above).

Next is the application of base coat (which is dark green for this project). Then post-shaded to show shadows on some areas.

After that, I mix my base color usually with white (and yellow) and sprayed on the center of some panels as highlights. This also helps to blend the colors and add an extra depth to the kit.

A coat of gloss clear paint is applied followed by a dark brown (enamel) pin wash. Decals are also applied in this stage.

Photobucket
Optional: Application of filter, this time I only use what most armor modelers call "Dot Filtering". A filter is technically a complement, it also helps to break the monotony of single colored subjects.

Photobucket
Here's the results. Notice the discoloration of some panels.


Trumpeter 1/35 M1134 Stryker ATGM WIP: Dryfit

Assembly done and ready for painting. The building went smooth, except for a PE part which I mishandled leaving me no choice but to use the plastic counterpart. Another thing I really like about this kit is that it comes with paper cutouts of ration boxes, really had fun making them.


Some close up shots of the ration boxes and equipments.


Trumpeter 1/35 M1134 Stryker ATGM WIP: Assembly


Been waiting to get out of mecha and sci-fi builds. Good thing the 9th IPMS Philippines Nationals is coming up, letting me build another armor kit. This is my first time doing a modern AFV, Im used to doing WWII armors with heavy weathering. So this will be quite interesting; at least for me.


Brought this to work and started the assembly. No fitting issues so far and great details (which include PE parts) as expected from Trumpeter kits. Hopefully I can manage to finish this build in 2 weeks.


Kotobukiya Type38-1 Ryurai-Kai WIP: Painted

Here's the rest of the WIP photos of the Ryurai Kai build. Been very busy lately I almost forgot to update this...


Painted using Gaianotes Paints. I also applied a subtle shading to give the kit some depth.


Top coated with a gloss finish, then wet decals were applied.


Almost done! Just a bit of drybrushing and touch-ups left to do.


The 9th IPMS Philippines Bert Anido National Scale Model Competition


The 9th IPMS Philippines Bert Anido National Scale Model Competition will take place on October 17 – 21, 2011 at the Activity Center of Bldg. A, SM Megamall, in Mandaluyong City.

Registration forms will be made available at all branches of Lil’s Hobby Center. There will be no need to register entries online. Simply bring your kits during mall hours of Sunday, October 16, 2011.


Source: IPMS Philippines


Kotobukiya Type38-1 Ryurai-Kai WIP: Primed

Photobucket

Here's a small update for this build. Primed all the parts to check for some imperfections, unfortunately there are still a couple of seams and sanding marks which needs to filled and sanded again. After that, off to painting. I also plan to alter the scheme a bit but I still have to ask permission from the owner.


Photobucket

Oh! Remember what I said at the intro post of this build that there are only a few sealing to be done? Here's the photo of those parts.


Kotobukiya Type38-1 Ryurai-Kai WIP: Intro


Back with another build! Finally, a non-gundam but unfortunately another mecha, LOL. Starting to miss armor and aircraft kits. Well, Im just doing this for a friend and first time handling aFrame Arms kit from Kotobukiya. At first I was a bit hesitant due to my experience on their first batches of Armored Core kits which I didnt quite like due to the quality of plastic used. It was kindda brittle resulting to breaking or parts, especially the joints even during the dry fitting stage. But I take it all back, these new Koto kits can be very much compared to Bandai quality. The PS they used is similar and quite strong compared to their old kits I've done. Another thing that impressed me is the breakdown of parts, very detailed and only a few seams to tackle. Its like building a mini Master Grade or a Real Grade. Poseability wise (with the armor) is pretty decent. I think my only gripe about this kit is the internals which I find a bit flimsy, but I guess it will tighten after painting. Other than that, its a good kit to own and build, same good quality you can expect from Kotobukiya.

Here's some photos of the snapped kit;

Photobucket Photobucket


NG 1/100 Tieren Ground Type


My latest build, a 1/100 Tieren Ground Type from the Gundam 00 series. Just an OOTB build. Painted with lacquer paints. Weathering (drybrush, pin wash, rust, chippings and filter) done with oil paints. Powdered pigments was also used for the dusting the feet and lover legs. The markings were masked then painted using lacquer. Very nice kit to own in my opinion, aside from the massive size, assembly is quite easy and minimal seam removal. Details are quite nice too especially when compared to the 1/144 counterpart.


Gallery at Mechaion Designs


Sangokuden Tyouhi Gundam

Photobucket

Hello! this is my Tyouhi Gundam from the Sangokuden series. Just a fun build and as usual OOTB. Im quite satisfied with the results, getting used to it again, building small SD's and masking which I believe needs some practice on my part. I used lacquer paints for my base and oils for the wash. Maybe next time I'll tackle a more challenging Sangokuden kit with much details on it.


Gallery at Mechaion Designs