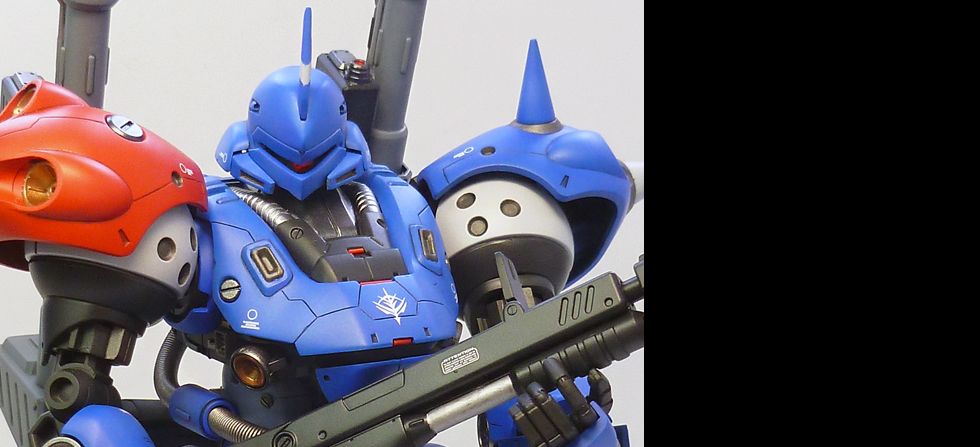
MG MS-18E Kampfer

Excepteur sint occaecat cupid- atat non proident, sunt in culpa qui officia deserunt mollit anim id est laborum.

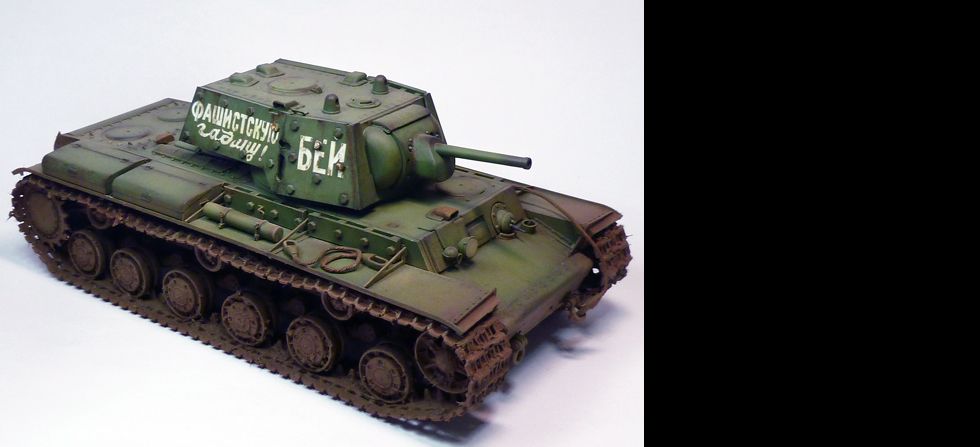
1/35 KV-1 Ehkranami

Excepteur sint occaecat cupid- atat non proident, sunt in culpa qui officia deserunt mollit anim id est laborum.

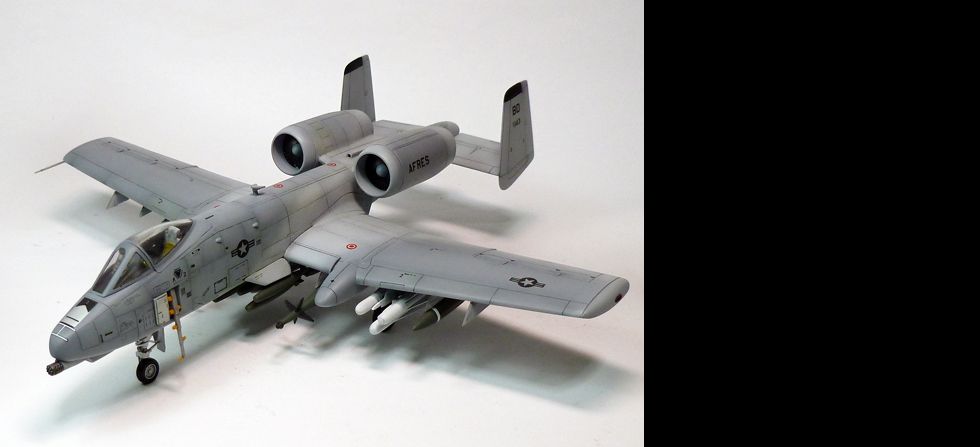
1/72 A-10 Thunderbolt

Excepteur sint occaecat cupid- atat non proident, sunt in culpa qui officia deserunt mollit anim id est laborum.

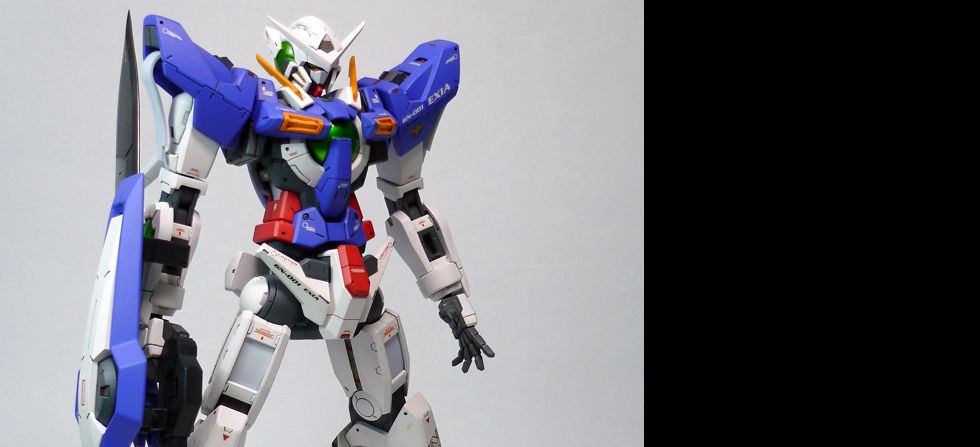
1/100 GN-001 Exia

Excepteur sint occaecat cupid- atat non proident, sunt in culpa qui officia deserunt mollit anim id est laborum.

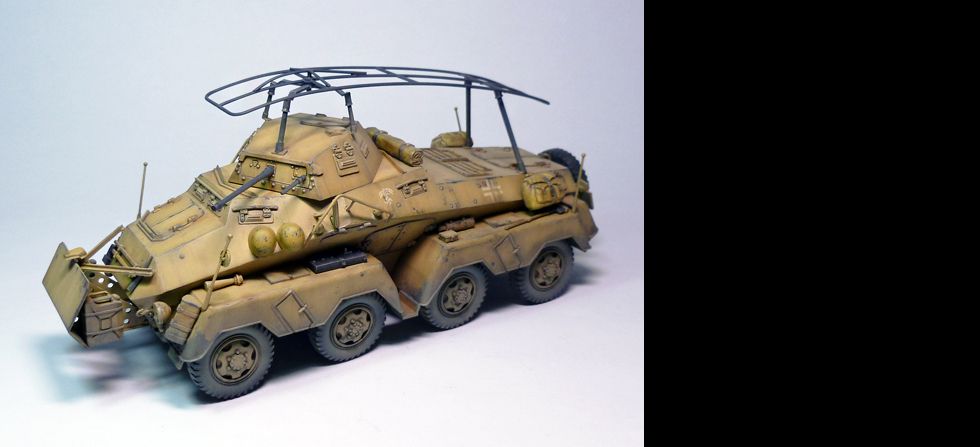
1/35 Panzerspähwagen 8Rad Sd.Kfz.232

Excepteur sint occaecat cupid- atat non proident, sunt in culpa qui officia deserunt mollit anim id est laborum.

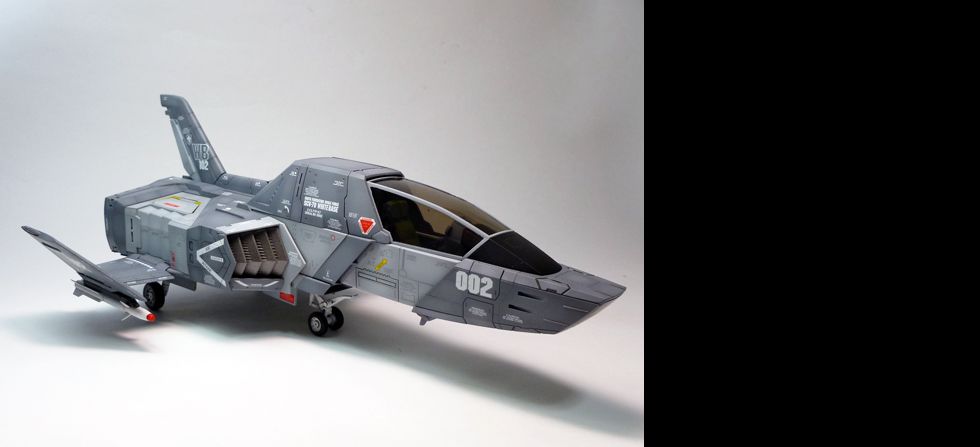
UCHG Core Fighter

Excepteur sint occaecat cupid- atat non proident, sunt in culpa qui officia deserunt mollit anim id est laborum.

HobbyBoss 1/72 F-16C Fighting Falcon

This is my 2nd aircraft build, improved a little bit compared to my first attempt which is the A-10, but still needs a lot of practice. Painted with Gaianotes lacquers, pastels for the wash and weathering, I want the finished model to be a bit dirty like its a workhorse with lots of flight time. I also messed up the back part of the canopy (fogged by spilling thinner) that's why I opted to just paint it. Not that historically accurate, sorry to all flyboys out there. Pardon the photos, its a bit grainy, cant get the right settings for my cam this time.

More photos at -- Mechaion Designs


HobbyBoss 1/72 F-16C: WIP 4

Here's the result after cleaning the pastel wash. Quite happy with the streaking effects. 

 
Close-up and belly view. Just a final top coat and its all done.


HobbyBoss 1/72 F-16C: WIP 3

Just showing you guys the gap on the belly side. I always use an epoxy putty to cover and level gaps like this. 

Murphy's Law of Modeling. I accidentally spilled my thinner (while cleaning the puttywork) on several parts including the back canopy causing it to fog. Tried fixing it with progressive sanding and compounds but failed. Next resort is just to paint it. Historic accuracy down the drain. LOL

-Primed and ready for pre-shading
-Freehand the light gray
-Mask the edges using sticky tack
-Apply the second color

Here's the result of the camouflage scheme. I also applied 2 coats of satin varnish to seal the decal work. 

Pastel wash all over the model for that weathered look.


Website Migration


My site, www.mechaion.tk is currently on migration to another host. The old site is still viewable HERE.

Bandai EX Model YMT-05 Hildolfr

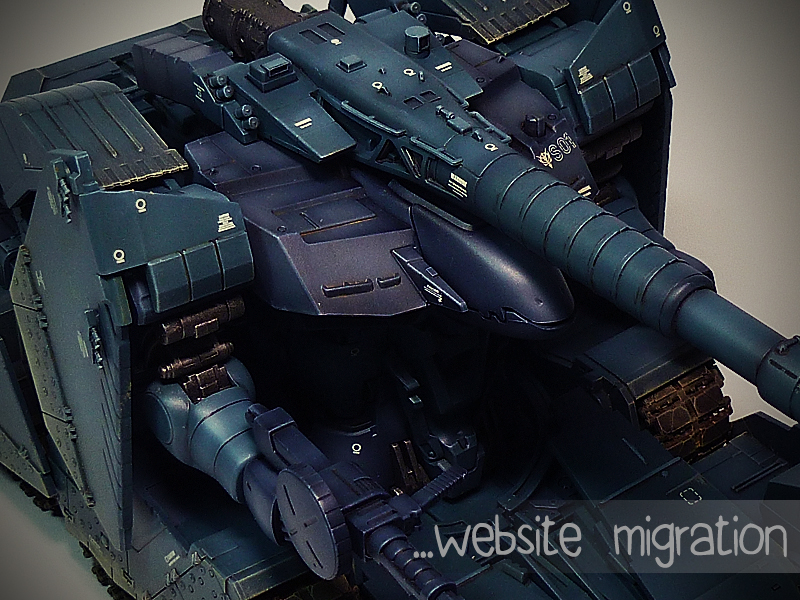
Another commission work out of the way. Just finished this 1/144 EX Model Hildolfr. Quite interesting model kit, half tank half mecha. Assembly's fairly simple and got great details. The usual OOTB, changed the scheme into a bluish-green color as requested by the client. Waterslide decals are also provided which is good since the kit is pretty pricey. Painted with Gaianotes lacquers, wash with Tamiya enamels, filters done using Artist's Oils and pigments for the dust effect. 

As of posting time, most (90%) of the dust effects were already removed (good thing I didnt apply any fixative on the pigments). The client finds it to be a bit too weathered for his taste.


More Photos at -- Mechaion Designs


HobbyBoss 1/72 F-16C: WIP 2

With the EX Model Hildolfr out of the way, I can finally go back to the F16 build which Im really excited to do. Started to seal the body and armaments. Still a long way to go but Im taking my time. I can see now that this bird will receive a lot of putty and sanding especially the belly area.


Painted the cockpit with flat black & did some detailing on the pilot seat by adding belts made out of strips of masking tape.


Bandai EX Model 1/144 YMT-05 Hildolfr: WIP 4

Satin coat + decals


Wash and filters applied


Here's a mock assembly before the flat coat and pigments.


Bandai EX Model 1/144 YMT-05 Hildolfr: WIP 3

Base coat applied.

After the mid-tones and highlights.


Close-up shots of the colour modulation and traditional shading.


Bandai EX Model 1/144 YMT-05 Hildolfr: WIP 2

Primed. Also applied black on the areas I want to have shadows, will do a bit of colour modulation alongside with traditional pre-shading.

The tracks were painted with Rust color then drybrushed with silver then dark silver. I was a bit sloppy on this step because it wont be that obvious after the application of pastel for dust effects.


After some trial and error, finally I found the right color. Cant believe I should throw Bright Green into the mix to get it right. I just love mixing my own paints.


HobbyBoss 1/72 F-16C

Lots of build going on. This one is for the Aviation GB (Plazone). This is only my 2nd aircraft build so Im still not quite out of the dark yet. Still reading and researching for references on how to build AC model kits. Since its not a very strict GB, I plan to play a bit on the scheme but will use the Aggressor variation as a guide but probably wont that historically correct. So to avid aircraft modelers out there, apologies in advance. :) 


Here's the cockpit area, not to shabby, I only used the decals provided for the details but Im not that satisfied so maybe I'll still do some retouches or oil paintings just to enhance the look a little bit more.


As expected its tail-heavy, So just put a lead weight inside the nose, and problem solved!


For the canopy, I'll just polish it with Tamiya Compund. A must have for AC builds


Here's the bird after a mock assembly, still need to glue most parts and for sure a lot of putty-ing to follow.


Bandai EX Model 1/144 YMT-05 Hildolfr: WIP


MG Gouf build interrupted by another commission project. I guess I need to prioritize this one first. So far so good, no fitting problems and minimal sealing needed. The client is still thinking for a custom scheme, I just hope its good. *cross fingers*


Bandai MG Gouf Custom: WIP

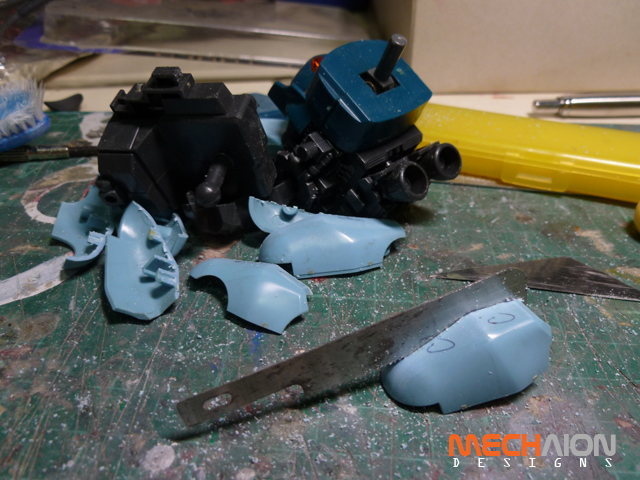
Back from another hiatus to finish this project. As usual, will do some proportion changes to this kit (with the help of some references I found on the net). 


So far here's where I left off. Already widen the thighs, shoulders and torso area. I also lowered the crotch-thigh connection. Quite happy with the results, will just have to add some details and maybe proceed to painting after.