Latest commission build. Bandai MG Wing Gundam Ver. Ka + resin Wing 0 conversion kit. This will be a priority build so all ongoing projects will be put on hold. So far everything looks good, packaging of the 3rd party parts is great, also comes with metal thrusters and a small decal sheet. I'll try post updates as much as i can.
This one's next. Its a 1/100 scale Arios from Bandai. Will again be added to my "Sale" section and also at TRMS FB page once finished. Right now Im still looking all over the net for a cool build of this kit that I can use as a reference. So far I find the kit very solid and it has a nice proportion but lacks in details, so maybe I'll focus that by adding panels and maybe some after market parts just to lift the design but still maintaining the original design.
Photo c/o Hobby Link Japan
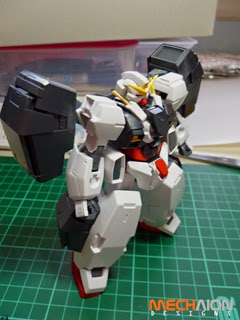
Done with my 1/144 Gundam Virtue from Bandai. This model will be under the "customized model kits for sale" of Team Renegade Modeling Services. Very impressive kit especially for a 1/144th scale, assembly is quite easy with minimal seams that needs to be sealed. Well-balanced and can be pose fairly. My only gripe is the lack of details which I think becoming standard with Bandai's 1/144 releases. Since I love the proportion of the kit, I did not made any drastic modifications. I just added a couple of details (panel lines, plastic rods and decals from Bandai & Samuel) to improve the overall look of the kit. Fully painted with Gaianotes lacquers, panel wash with Tamiya enamels.
More photos at -- Mechaion Designs
Updated the For Sale page! All items are from original manufacturers such as Bandai, Tamiya, etc. All painted and customized. I will also add my recent commission works soon. Please do check it out, thanks folks!
Just a small update about the Virtue Gundam WIP. Added some panel lines on the whole kit, copied some from the 1/100 scale. Also added a few details like rivet holes. The kit is a bit plain looking but the proportion looks good at least for my taste, so no heavy modifications needed. Will just have to clean the scribed parts before painting.
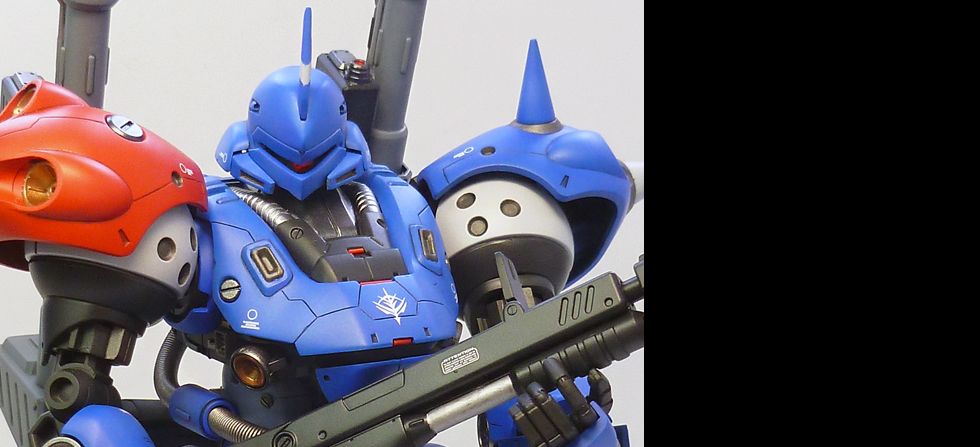
My latest build, its a Master Grade Gouf Custom from Bandai. Did a couple of modifications to improve the proportion such as shorten the snout, widen the torso area, the shoulders were also bulked up, dropped the crotch-thigh joints, widen the thigh armors, extended the front crotch armor & widen the front and rear skirts. Minor detailing was also done. Changed the color into a greyish scheme. Weathered using pastels and oils. Kudos to my friend KKK for sharing "Texas Colony's" work as reference.
More photos at -- Mechaion Designs
Weathering time! Added paint chippings, I just used a 000 brush and dark gray lacquer paint. A bit tedious compared to sponge or salt/hairspray technique but it gives you more control on your desired effect.
Wash and filters also applied using pastels, a bit of oils for the rust streaks and discolouration.
Here's a close-up view of what I did to the crotch area. Did some cuts and lowered the thigh joints by 4mm.
Some simple detailing.
Added 3mm of plastic sheets on the front skirt and .5mm on the sides to close in the gaps when assembled.
Another dry-fit to see how it looks before painting.
Painting done. Getting ready for some heavy weathering.
Late post that will be used as reference for the TRMS auction.
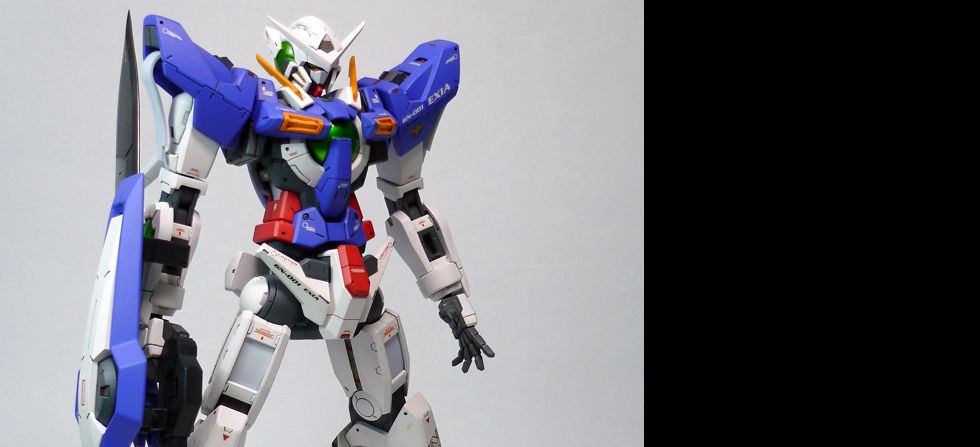
-(Left) NG Exia dry fit, (Right) Out of the box kit [Photo c/o Dalong]
-Neck joint extended by 2mm using Tamiya Pla-plates.
-Scribed panel line to simulate vents on the cheek piece.
-Cuts on the shoulder armor, will place styrene plate and bars to simulate internals.
-Addition of details on the torso (scribed panel lines, rivet holes and addition of Wave O-bolts)
-Lowered the crotch-thigh joints by at least 5mm. Reinforced by Wave C-line and 2mm of styrene sheets.
-Another mock assembly after adjusting the proportion.
-More additional details (panel lines and rivet holes).
-Pre-painting modifications on the thighs to avoid masking.
-Filled the gaps with epoxy putty.
-Sharpen the blades using styrene and CA glue.
-Painted and decals applied, before the final flat coat.
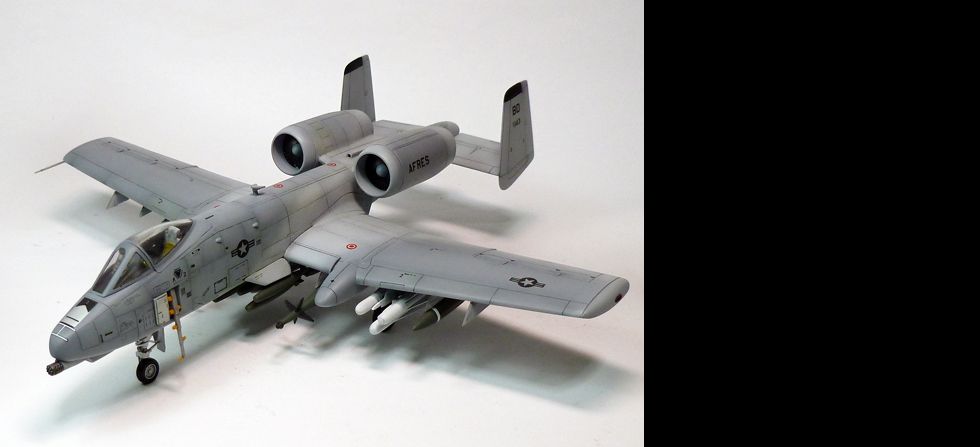
This is my 2nd aircraft build, improved a little bit compared to my first attempt which is the A-10, but still needs a lot of practice. Painted with Gaianotes lacquers, pastels for the wash and weathering, I want the finished model to be a bit dirty like its a workhorse with lots of flight time. I also messed up the back part of the canopy (fogged by spilling thinner) that's why I opted to just paint it. Not that historically accurate, sorry to all flyboys out there. Pardon the photos, its a bit grainy, cant get the right settings for my cam this time.
More photos at -- Mechaion Designs
Subscribe to:
Posts (Atom)