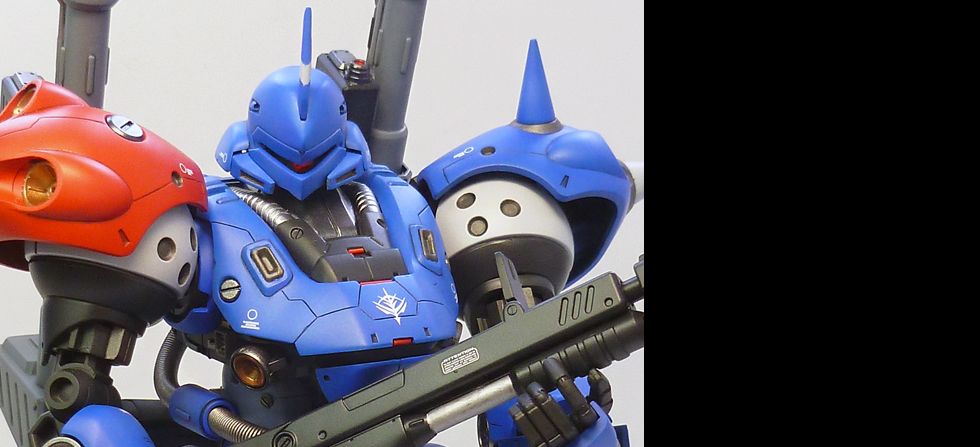
MG MS-18E Kampfer

Excepteur sint occaecat cupid- atat non proident, sunt in culpa qui officia deserunt mollit anim id est laborum.

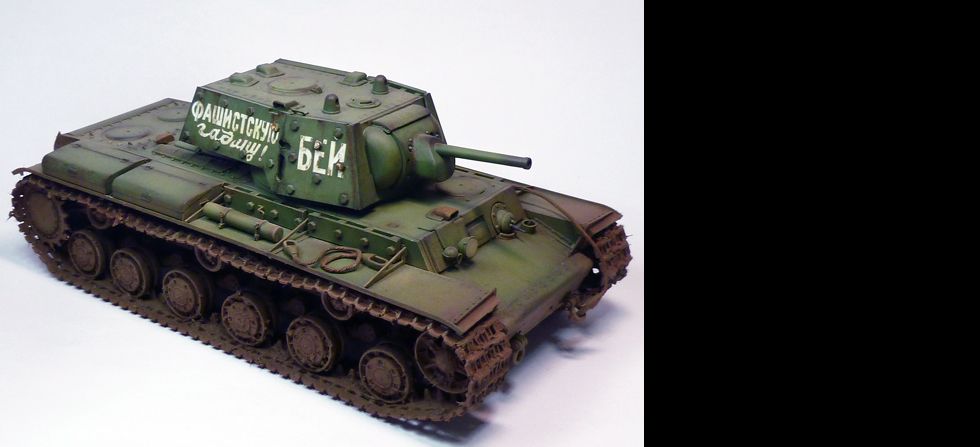
1/35 KV-1 Ehkranami

Excepteur sint occaecat cupid- atat non proident, sunt in culpa qui officia deserunt mollit anim id est laborum.

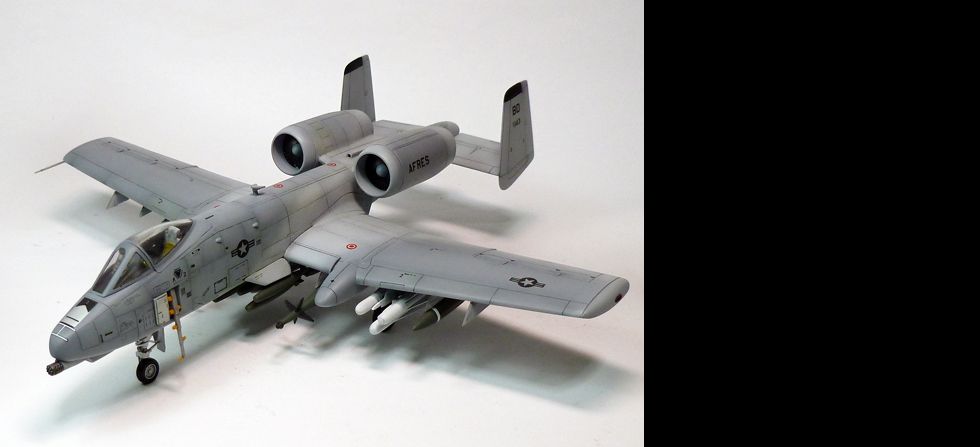
1/72 A-10 Thunderbolt

Excepteur sint occaecat cupid- atat non proident, sunt in culpa qui officia deserunt mollit anim id est laborum.

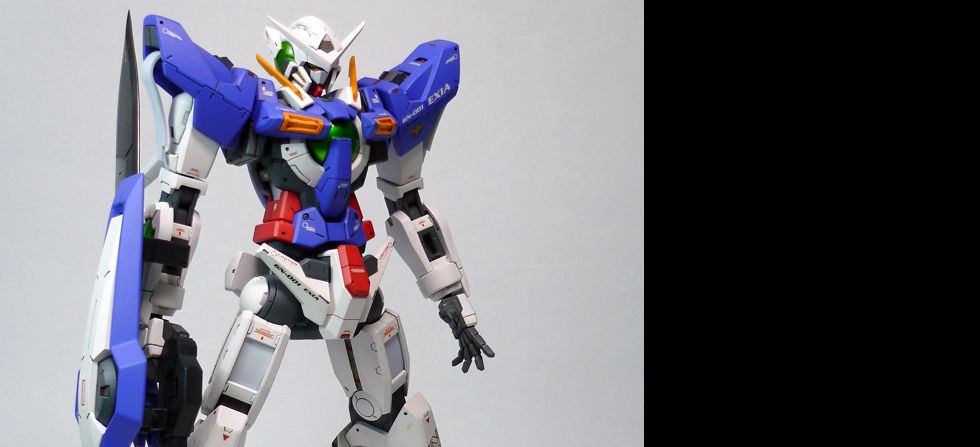
1/100 GN-001 Exia

Excepteur sint occaecat cupid- atat non proident, sunt in culpa qui officia deserunt mollit anim id est laborum.

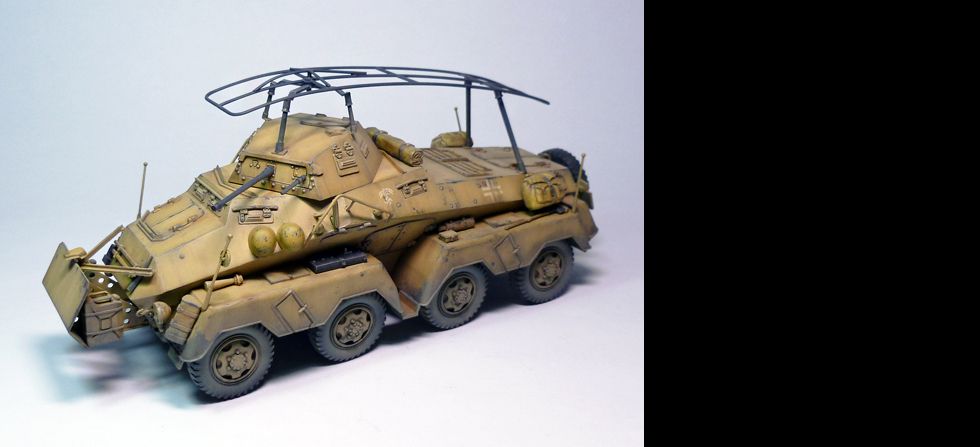
1/35 Panzerspähwagen 8Rad Sd.Kfz.232

Excepteur sint occaecat cupid- atat non proident, sunt in culpa qui officia deserunt mollit anim id est laborum.

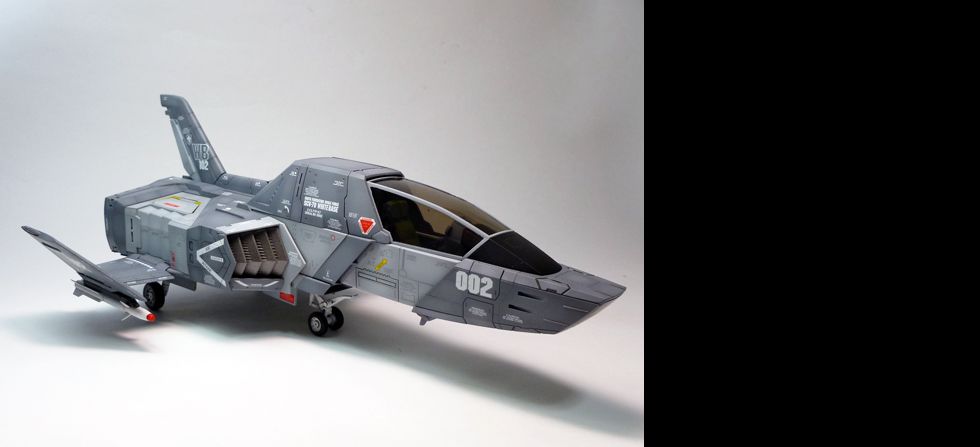
UCHG Core Fighter

Excepteur sint occaecat cupid- atat non proident, sunt in culpa qui officia deserunt mollit anim id est laborum.
Showing posts with label Armor. Show all posts

Bandai EX Model YMT-05 Hildolfr

Another commission work out of the way. Just finished this 1/144 EX Model Hildolfr. Quite interesting model kit, half tank half mecha. Assembly's fairly simple and got great details. The usual OOTB, changed the scheme into a bluish-green color as requested by the client. Waterslide decals are also provided which is good since the kit is pretty pricey. Painted with Gaianotes lacquers, wash with Tamiya enamels, filters done using Artist's Oils and pigments for the dust effect. 

As of posting time, most (90%) of the dust effects were already removed (good thing I didnt apply any fixative on the pigments). The client finds it to be a bit too weathered for his taste.


More Photos at -- Mechaion Designs


Bandai EX Model 1/144 YMT-05 Hildolfr: WIP 4

Satin coat + decals


Wash and filters applied


Here's a mock assembly before the flat coat and pigments.


Bandai EX Model 1/144 YMT-05 Hildolfr: WIP 3

Base coat applied.

After the mid-tones and highlights.


Close-up shots of the colour modulation and traditional shading.


Bandai EX Model 1/144 YMT-05 Hildolfr: WIP 2

Primed. Also applied black on the areas I want to have shadows, will do a bit of colour modulation alongside with traditional pre-shading.

The tracks were painted with Rust color then drybrushed with silver then dark silver. I was a bit sloppy on this step because it wont be that obvious after the application of pastel for dust effects.


After some trial and error, finally I found the right color. Cant believe I should throw Bright Green into the mix to get it right. I just love mixing my own paints.


Bandai EX Model 1/144 YMT-05 Hildolfr: WIP


MG Gouf build interrupted by another commission project. I guess I need to prioritize this one first. So far so good, no fitting problems and minimal sealing needed. The client is still thinking for a custom scheme, I just hope its good. *cross fingers*


Trumpeter 1/35 M1134 Stryker ATGM


Here's my 1/35th scale Stryker ATGM from Trumpeter. Its an OOTB build. Painted with Gaianotes lacquer paints and weathered using oils and acrylics. I really wanted to apply more weathering to it but since this is my first modern AFV, I decided to play it safe and just apply a subtle filter and dusting on the lower half of the vehicle. Pardon me if its not that historically correct specially with regards to the stowage/equipments, cant find a decent reference photo of the "loaded" vehicle. As usual more photos at the main site.


Gallery at Mechaion Designs


Trumpeter 1/35 M1134 Stryker ATGM WIP: Weathering Pt. 2

Here's the final result after all the weathering applied. Since its a modern AFV, I tried to restrict myself from weathering it too much like my previous WWII armor kits. I didnt apply chippings, too much paint fading. All I did after the filter is a bit of dusting; but instead of using pigments like I used to, I resorted using acrylics (airbrushed). A thing I learned from western armor modelers. Just a final flat coat and its all done.


Trumpeter 1/35 M1134 Stryker ATGM WIP: Paint & Weathering

Here's a step by step process on how I usually paint armor kts. First is I apply a primer then paint some areas black usually the panels and edges (photo above).

Next is the application of base coat (which is dark green for this project). Then post-shaded to show shadows on some areas.

After that, I mix my base color usually with white (and yellow) and sprayed on the center of some panels as highlights. This also helps to blend the colors and add an extra depth to the kit.

A coat of gloss clear paint is applied followed by a dark brown (enamel) pin wash. Decals are also applied in this stage.

Photobucket
Optional: Application of filter, this time I only use what most armor modelers call "Dot Filtering". A filter is technically a complement, it also helps to break the monotony of single colored subjects.

Photobucket
Here's the results. Notice the discoloration of some panels.


Trumpeter 1/35 M1134 Stryker ATGM WIP: Dryfit

Assembly done and ready for painting. The building went smooth, except for a PE part which I mishandled leaving me no choice but to use the plastic counterpart. Another thing I really like about this kit is that it comes with paper cutouts of ration boxes, really had fun making them.


Some close up shots of the ration boxes and equipments.


Trumpeter 1/35 M1134 Stryker ATGM WIP: Assembly


Been waiting to get out of mecha and sci-fi builds. Good thing the 9th IPMS Philippines Nationals is coming up, letting me build another armor kit. This is my first time doing a modern AFV, Im used to doing WWII armors with heavy weathering. So this will be quite interesting; at least for me.


Brought this to work and started the assembly. No fitting issues so far and great details (which include PE parts) as expected from Trumpeter kits. Hopefully I can manage to finish this build in 2 weeks.


Trumpeter 1/35 KV-1's Ehkranami Done


Been a while, been busy with the local modeling events here lately. Here's my 3rd attempt on armor modeling. Its a 1/35th scale Russian KV-1 "Ehkranami". Its a pretty straight forward OOTB build. I use Russian Green as my base paint, then toning it a bit with black and white/yellow for the post shade and highlights. Dry-brushed the kit with dark brown and dark gray to simulate scratches, sponge technique was used for the chippings. I also applied a dark brown pinwash and filter. For the mud effect I used Tamiya acrylics mixed with talc and fine sand (many thanks to Fritz for this recipe). Dust and Rust was achieved by using Tamiya weathering sets and oil paints.

Also kudos to Plamo for their tutorials and WIP's. Been a great help and excellent reference for this build.


Trumpeter 1/35 KV-1's Ehkranami: WIP 3

Mud effects applied using acrylics and talc.

Then followed by light dusting.


Trumpeter 1/35 KV-1's Ehkranami: WIP 2

At this point I've already applied the decals (also scratched them a bit to fit the weathered look). Also started with the initial rust color and a pin-wash to raise the details.

A darker color for the rust was applied.

Another layer of rust, this time using Tamiya Weathering Set. A dark brown and light gray filter was also applied.

Here's the turret, instead of drybrushing it with a lighter color, I used dark brown to simulate scratches and chi[[ings. I find this a bit more realistic than the circa way we all used to. Credits to the M Workshop for this technique.


Trumpeter 1/35 KV-1's Ehkranami

Here's what I've been up to for a couple of weeks now. Back to armor modeling, also a break from mechs/Gundam kits. This one will be purely out of the box. Assembly and fitting is quite decent, except for warping on some parts (which can easily be fixed), maybe due to the temperature and storage. A great armor kit specially for those who are new to the genre like me.

Painted the tracks (plastic) black then highlighted it with reddish brown mix and drybrushed with light gray.

Russian Green as base coat.

Post-shaded with a mixture of Russian green + black

Then highlighted it with a mix of Russian Green + Yellow + White


Tamiya 1/35 Schwerer Panzerspahwagen Done


My 2nd attempt on armor model kits. Again I have learned new things about weathering and Im pretty satisfied with the results. The build is pretty much OOTB, with an Afrika Korps color scheme. Enjoy!

Tamiya 1/35 Schwerer Panzerspahwagen WIP Update: Drybrush and Chippings


Like the filter, I also used two colors for the drybrushing. First is light yellow then followed by dark gray on selected areas. Still have to tone it down a bit. I also did some paint chippings and rust. One more layer of light dusting on the lower hull and wheels and its done.

Tamiya 1/35 Schwerer Panzerspahwagen WIP Update: Filter

1st, I used a light gray....


then followed by brown.

Tamiya 1/35 Schwerer Panzerspahwagen WIP Update : Decals & Wash


Here's a small update. Decals were applied and sealed with a semi-gloss coat. After curing I applied a dark brown wash to raise some details of the kit. I also hand-painted some of the details using Tamiya enamels.

Tamiya 1/35 Schwerer Panzerspahwagen WIP Update : Painting

After fixing and replacing the worn out bushing of my old and trusty compressor... painting time!

The kit was primed with Mr. Surfacer 1000, then highlighted the edges, rivets etc. with dark gray.
Applied the base color which produced a subtle shade.

After drying and curing, I applied two lighter shades of the base coat as highlight and to show gradation.