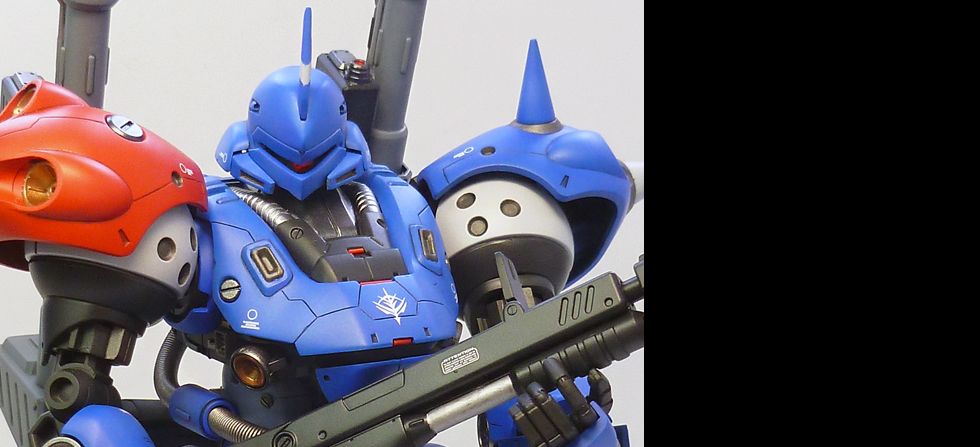
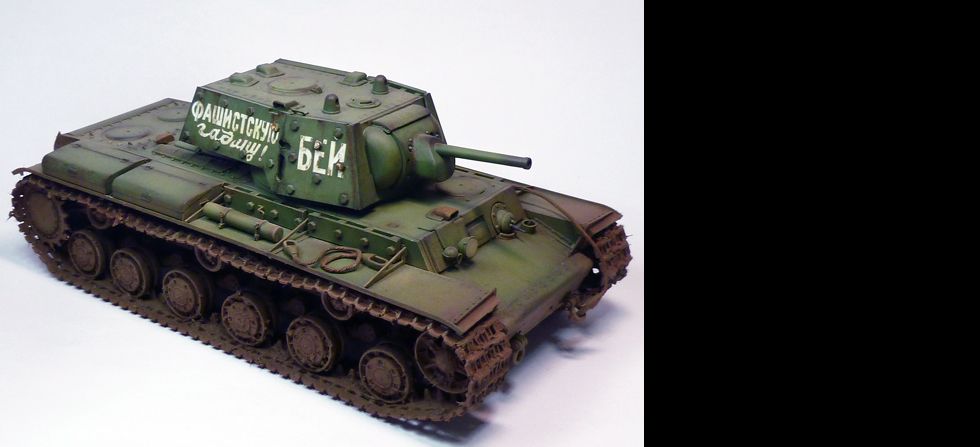
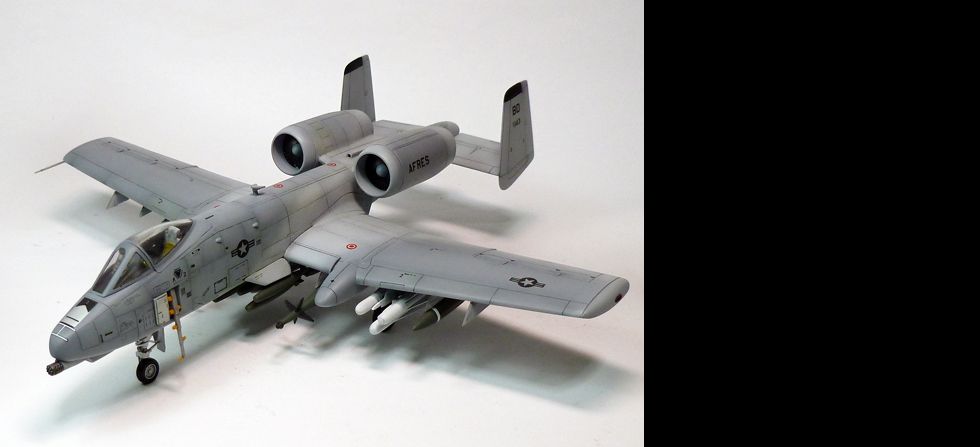
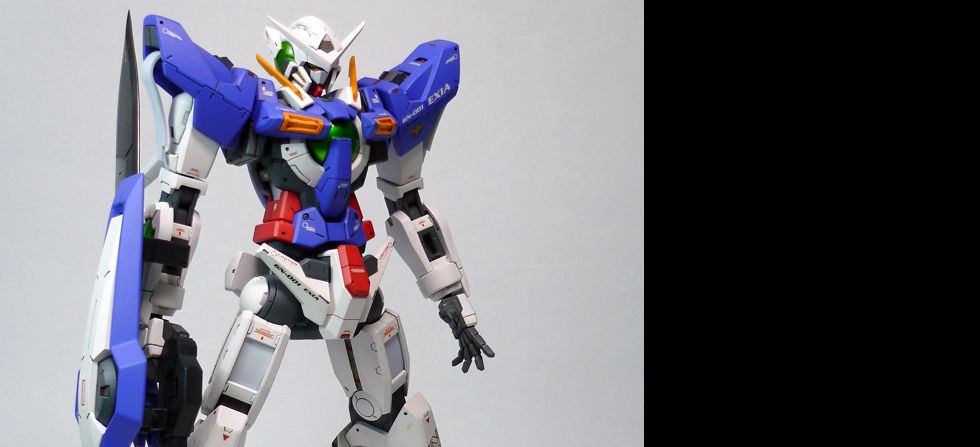
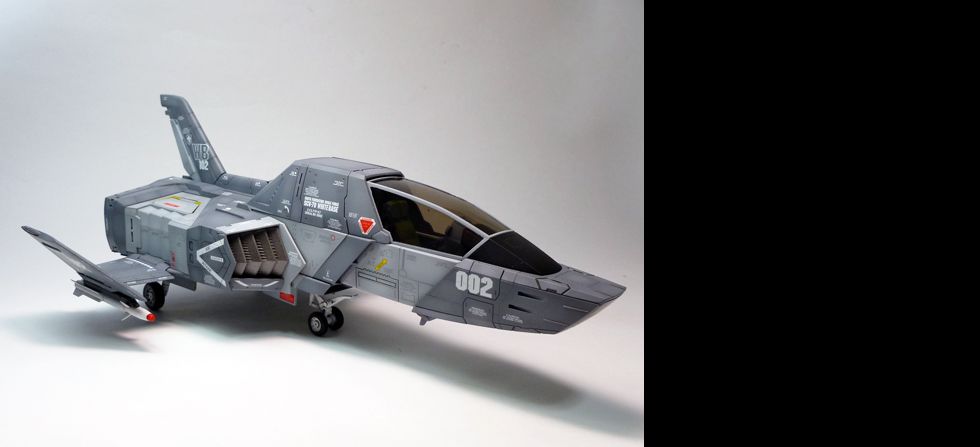
I think this will be my last update for this build. I applied a second filter (white, still using oil paints thinned with turpentine). This is to tone everything down a bit and simulate watermarks on some areas. After curing this layer I will spray it with the final flat coat, then apply some pigments on the feet and lower legs for mud and dust effects.
Started weathering this kit. My style or preference usually begins with a pinwash using Tamiya Enamel (Dark Brown), this is to raise the details of the kit. This was followed by drybrushing to represent scratches which I stressed on the edges and moving parts I also din some paint chippings using a small piece of sponge. Gunze Lacquer (Dark Gray) was used for both drybrushing and chippings. After drying I sprayed a clear coat of semi gloss, just to protect the paint job and plastic for the next step.
After the semi gloss coat cured, I applied a filter which is a diluted mixture of Burnt Sienna. This is to simulate the discoloration of paintjob. It can also give more depth specially on monotonous subjects. I also placed "rust" on the edges and chipped areas by handbrushing Burnt Sienna + Burnt Umber + Black then blending them slowly until I get the result I wanted. I used oil paints by the way.
Here are the rest of the parts after filtering and rust application;
I started painting the figure which will be sandwiched inside the main body of the kit. The figure was hand brushed using Gunze Lacquer Paints and washed with Tamiya Enamels. The photo above shows the finished figure also applied with flat coat. You may also notice that I did not bother to remove the mold lines on the arms and legs & I only painted the upper half. This is because the figure will only be partially seen when the whole kit is done.
Here are some photos of the painting process...
1. unpainted figure, 2. dark tones applied, 3. light tones applied, 4. details ang highlights, 5. enamel wash
I also painted the interior of the cockpit,hatch and joints with midnight blue. Flat coat was also applied.
Main body assembled with pilot inside.

Final update on my A10 Thunderbolt build, so far I've managed to apply a gloss coat and decals on the model. I also apply a filter on selected panels just to break the monotonous gray color as advised by my friend Wingnut of Plamo and IPMS Philippines (also a great aircraft modeler). Will just wait for it to dry, then the final flat coat will be applied and maybe take some decent photos of the kit.
Kit Description (from HLJ)
Originally released in 1998, this reissued snap-fit assembly kit of Raiden Armor from "Gasaraki" comes molded in color and will be fully articulated with polycap joints upon completion. Its canopy and cockpit hatches can open, and Raiden Armor can also be posed in a "seated" configuration for pilot boarding. Two in-scale, unpainted Yushiro Gowa figures (standing and sitting) are included, along with a sheet of stickers for adding details to your completed kit.
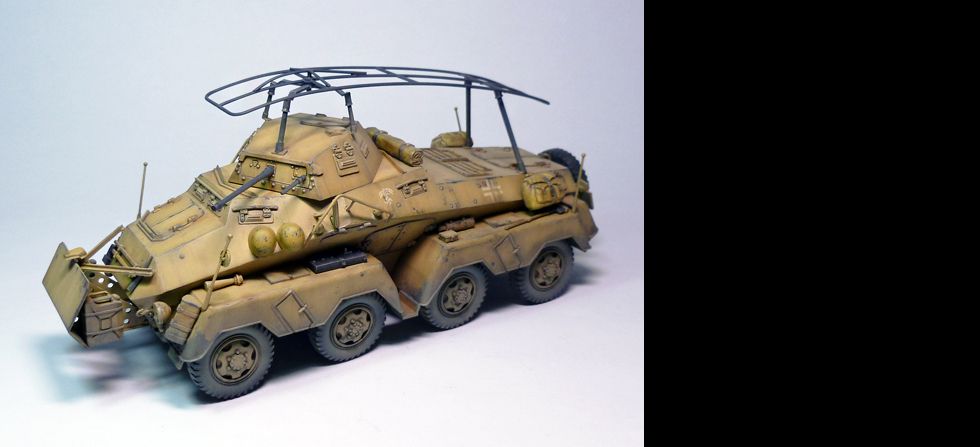
While waiting for my A10 Thunderbolt's paint job to cure, I decided to start assembling this kit. This build is for the "Weathering VS Metallic Group Build" of Zero G . Im part of the weathering team by the way. The kit has a fair amount of details, so no problem doing it OOTB which suits my personal preference. For the color scheme Im planning to do a desert scheme, maybe try to simulate the German Afrika Korps scheme since I think I still have some spare German decals which is perfect for this project.
Here are some pics of the snapped kit.

Mechapinoy would like to announce it’s first In-House Contest for 2011 -Omni Mecha: Crossover!
CONTEST OBJECTIVE:
To be creative in conceptualizing, modifying, painting and detailing a Mobile Suit that is used by a pilot from another timeline in the whole Gundam series.
For more details, visit: Mechapinoy
Painted the whole kit and weapons. So far I like the results but I also think that the camo edges were too soft compared to the real thing. I also had a hard time fixing the canopy to the fuselage, the parts were seriously misaligned. I had to use a clear epoxy to fix it because of its strong bond. Next will be applying a pin wash and decals. Im still thinking if I should also apply filter. Need to research more on aircraft builds.
Just a short update; finally resolved the tail-grabbing issue. Many thanks to the guys at IPMS Philippines and Plamo for the inputs. By the way I used lead weights. real heavy and works perfectly. :D I also sealed the fuselage, expecting heavy putty work and sanding.
As expected, this guy was tail-heavy! I have to put so much metal stuffs I found that I cant fit it inside the cockpit and nose area of the kit anymore. Im thinking of using the Tamiya Multi Chasis Balance Weight as an alternative coz its smaller and easier to hide. But Im still asking the pros at Plamo and Mechapinoy, maybe they have a better suggestion.
This will be my first time building and painting a plane scale model, and its a part of the Mechapinoy 1/72 Aircraft group build. I choose the A-10A simply because its one of my fave birds of all time. I must admit that building this will not be a breeze since its my first time and I have to rely on different aircraft builds for reference. So wish me luck. :)
For the color scheme I intend to use this one:
Here's a bit of history about the model (c/o Wikipedia)
The A-10 Thunderbolt II is an American single-seat, twin-engine, straight-wing jet aircraft developed by Fairchild-Republic in the early 1970s. The A-10 was designed for a United States Air Force requirement to provide close air support (CAS) for ground forces by attacking tanks, armored vehicles, and other ground targets with a limited air interdiction capability. It is the first U.S. Air Force aircraft designed exclusively for close air support.
The A-10 was designed around the GAU-8 Avenger, a heavy automatic cannon which forms the aircraft's primary armament. The aircraft's hull incorporates over 1,200 pounds (540 kg) of armor and was designed with survivability as a priority, with protective measures in place which enable the aircraft to continue flying even after taking significant damage.
The A-10's official name comes from the Republic P-47 Thunderbolt of World War II, a fighter that was particularly effective at close air support. The A-10 is more commonly known by its nickname "Warthog" or simply "Hog". As a secondary mission, it provides airborne forward air control, guiding other aircraft against ground targets. A-10s used primarily in this role are designated OA-10.
Now onto the build...
As most aircrafts modelers do, I painted the cockpit and insides of the fuselage, actually hand-brushed using Gunze lacquer paints. I also used oil paints to give it a general wash. Was kindda disappointed because the instrument panels were only water slide decals.
I also dry fitted the kit to study it further; I really dont want to mess up sealing and painting this kit. I also realized that it was not a good idea to get an Academy kit, especially for a first timer like me... yes, it was a really cheap kit but it also has a lot of flaws like huge gaps, fitting issues, etc. Looks like this one will need a ton of putty work and sanding. I should have gotten the Hasegawa or Revell instead, oh well. (LOL)
Subscribe to:
Posts (Atom)